Cook's Cairn
- Height
- 756 m
- Grade
- Average
- Back down
- 2 hr 18 min
- Distance
- about 21 km there and back
- Steps
- 25,300
- Region
- Moray
I only recorded the way back down, to save the phone's battery — 10.55 km, 2 hr 18 min and 12,665 steps recorded — so the distance and steps above are that leg doubled. The way up took longer than the way down.
Same rule as always before anything else: always go back down the way you came up. If you’re not sure of the ground, that’s the way you know.
A fair warning before you set off: this one’s about 21 km there and back, and there’s wet feet and marsh along the way.
And one for the dog walkers: you might hear gunshots in the fields on this one. If your dog’s sensitive to loud noises, keep him on a lead.
Getting parked
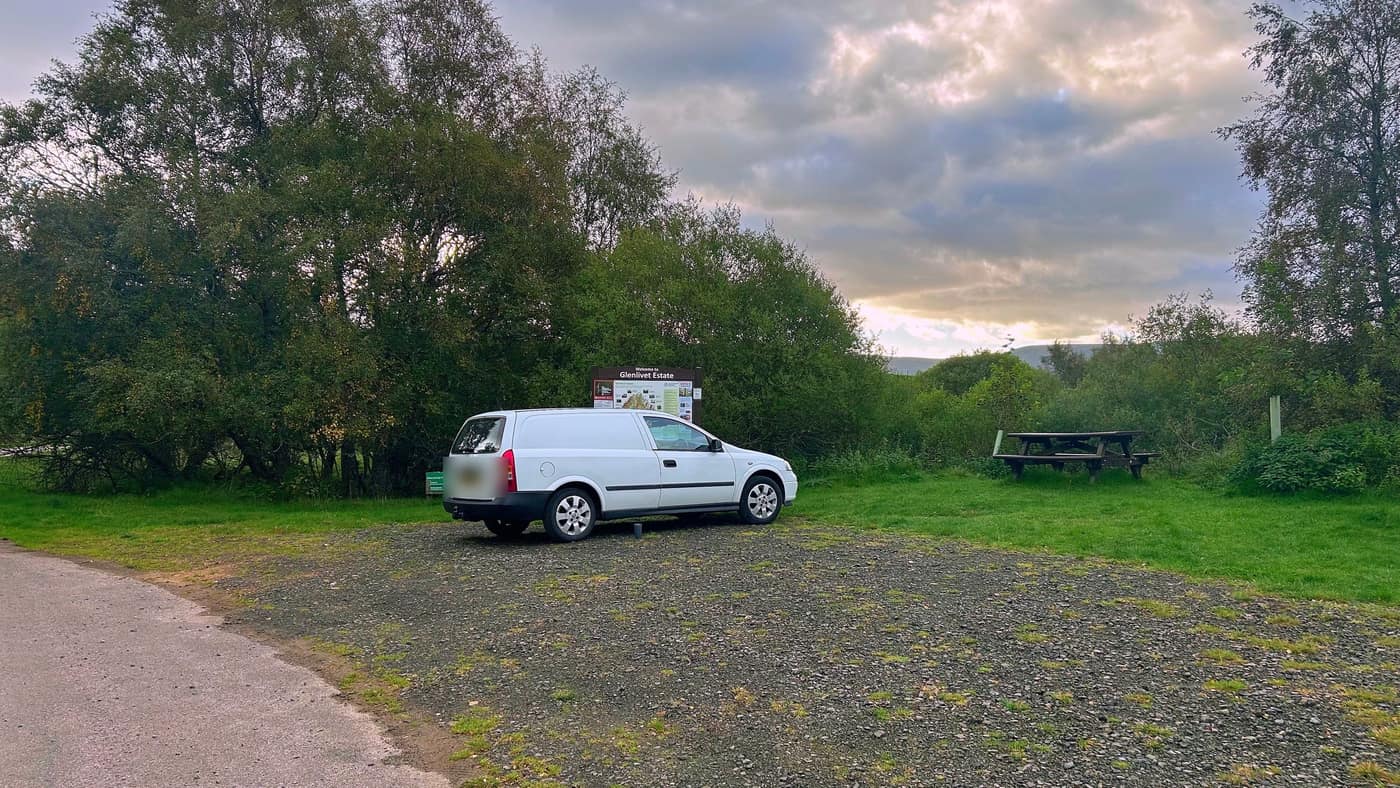
The app did its job and took me to the car park, right at the Welcome to Glenlivet Estate board. There’s sufficient space, which is understandable since Cook’s Cairn is a 20 km round trip from here.
To the bridge
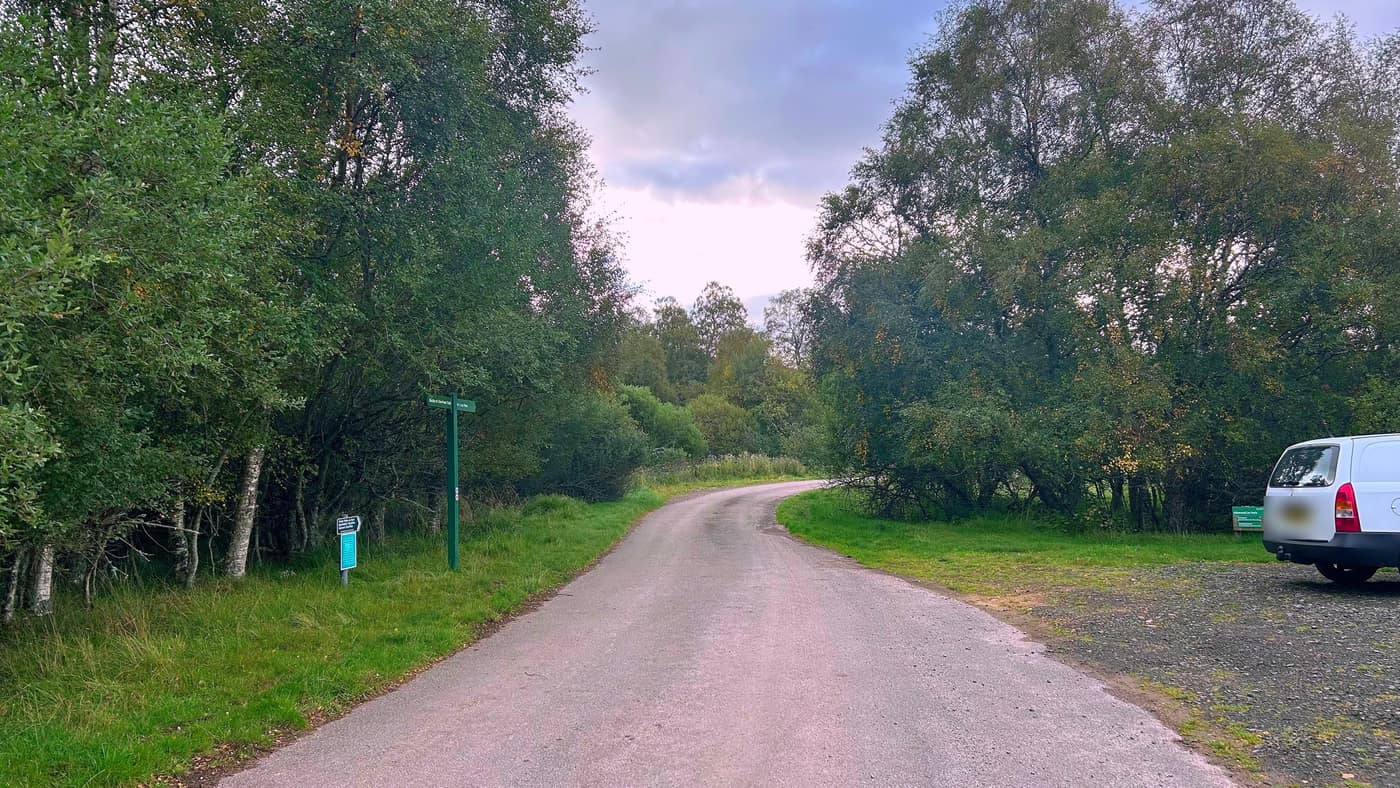
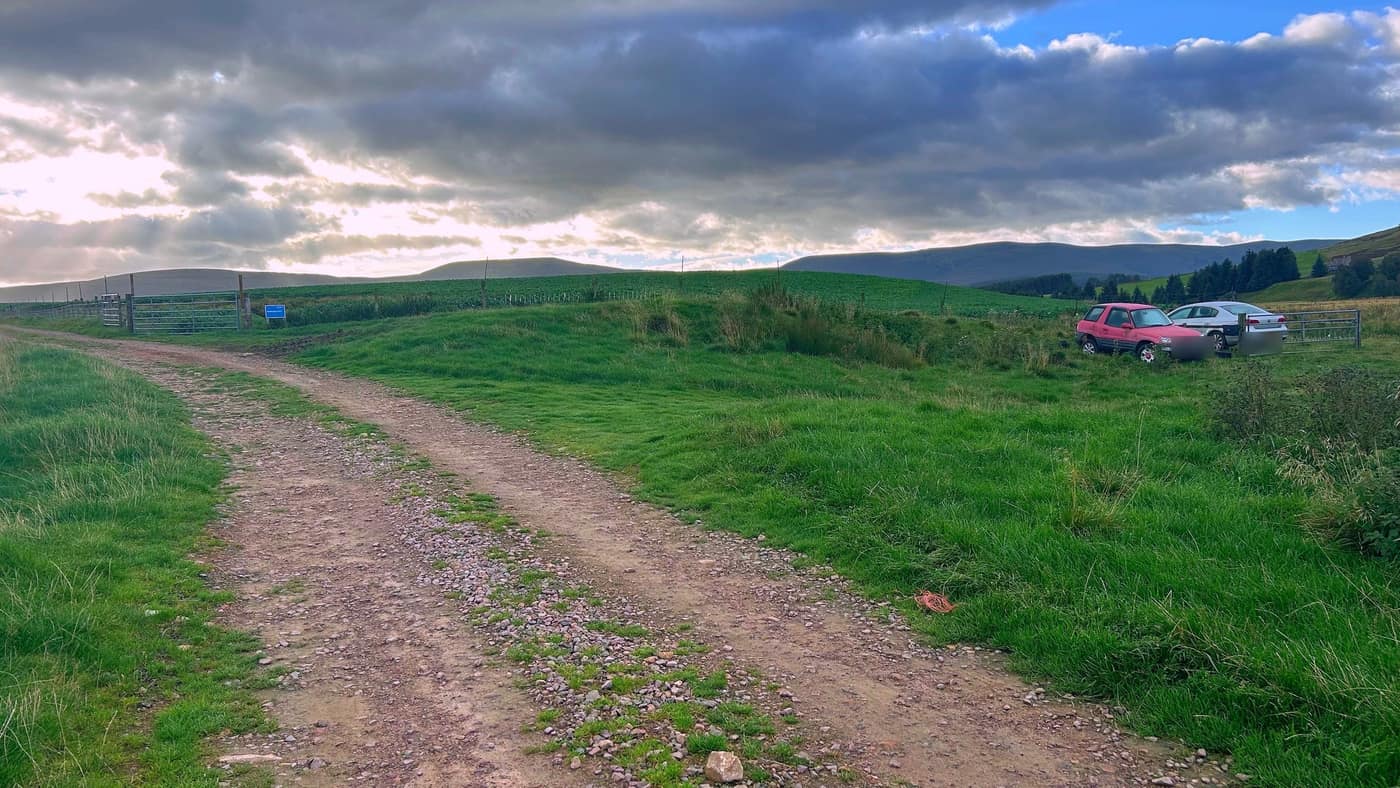
Carry on down the road after the car park and bear right, and keep walking until you see a bridge over to your right. You should see a couple of cars as well — this is where the path leads down towards the bridge. The red one doesn’t look roadworthy, so there’s a good chance you’ll see it too if you’re doing the walk.
The bridge
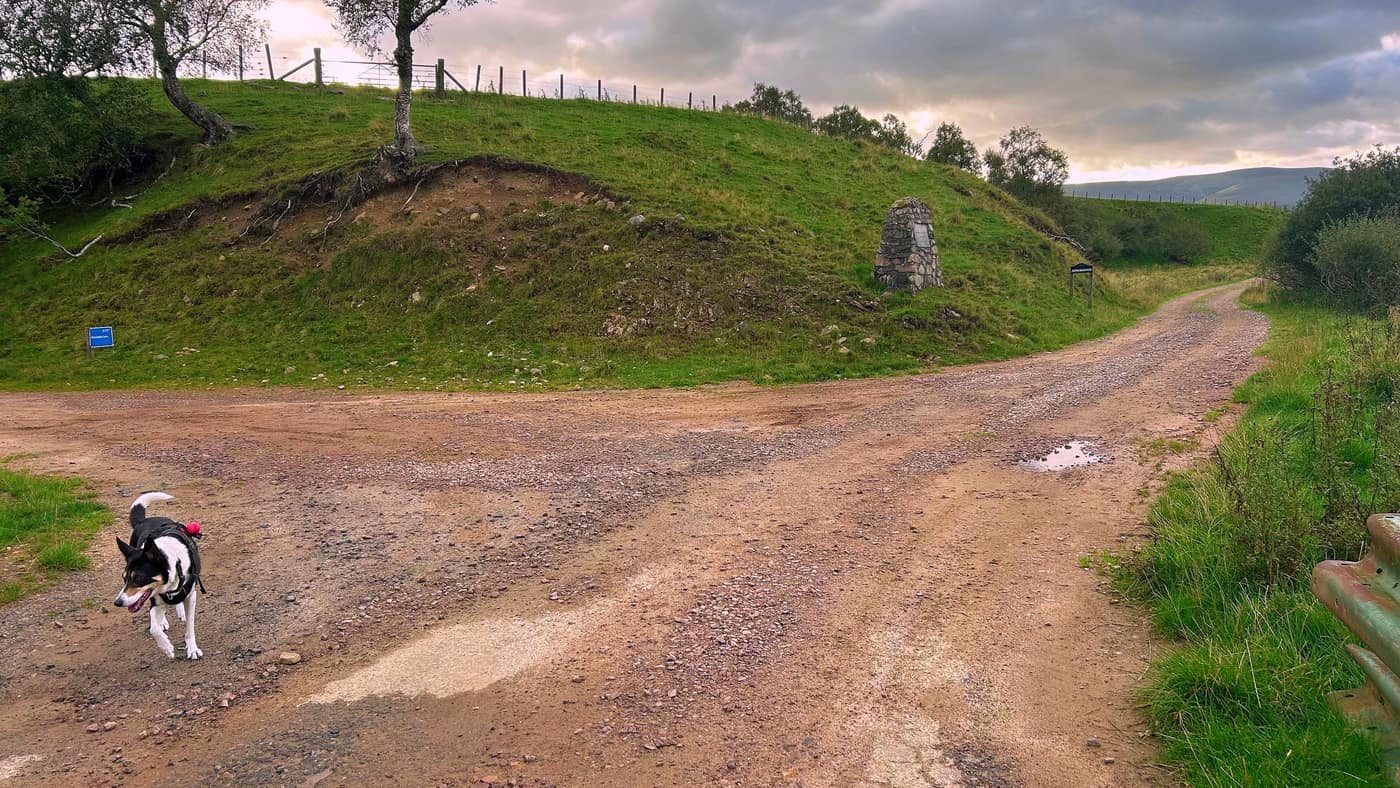
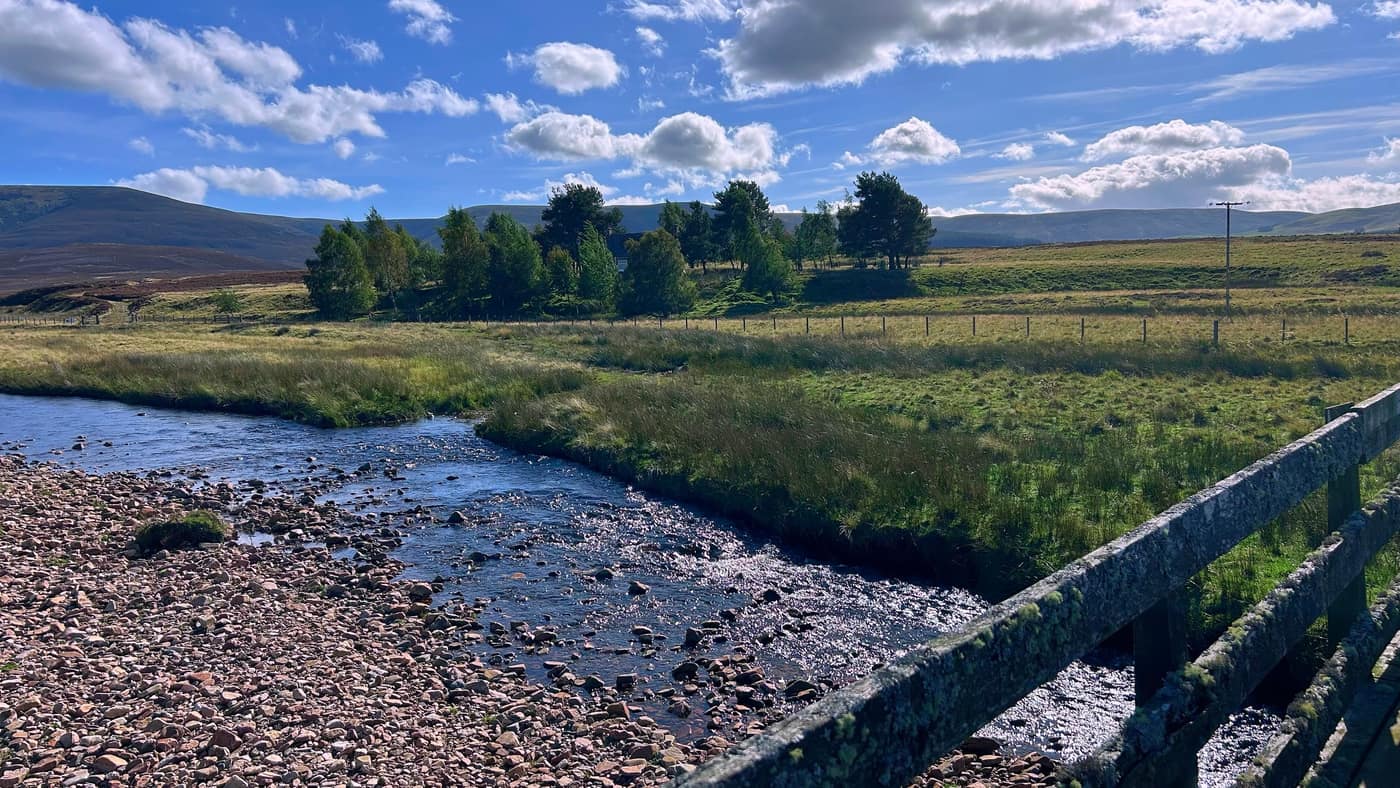
On the way to the bridge is the first water obstacle, but there’s ways around it at either side.
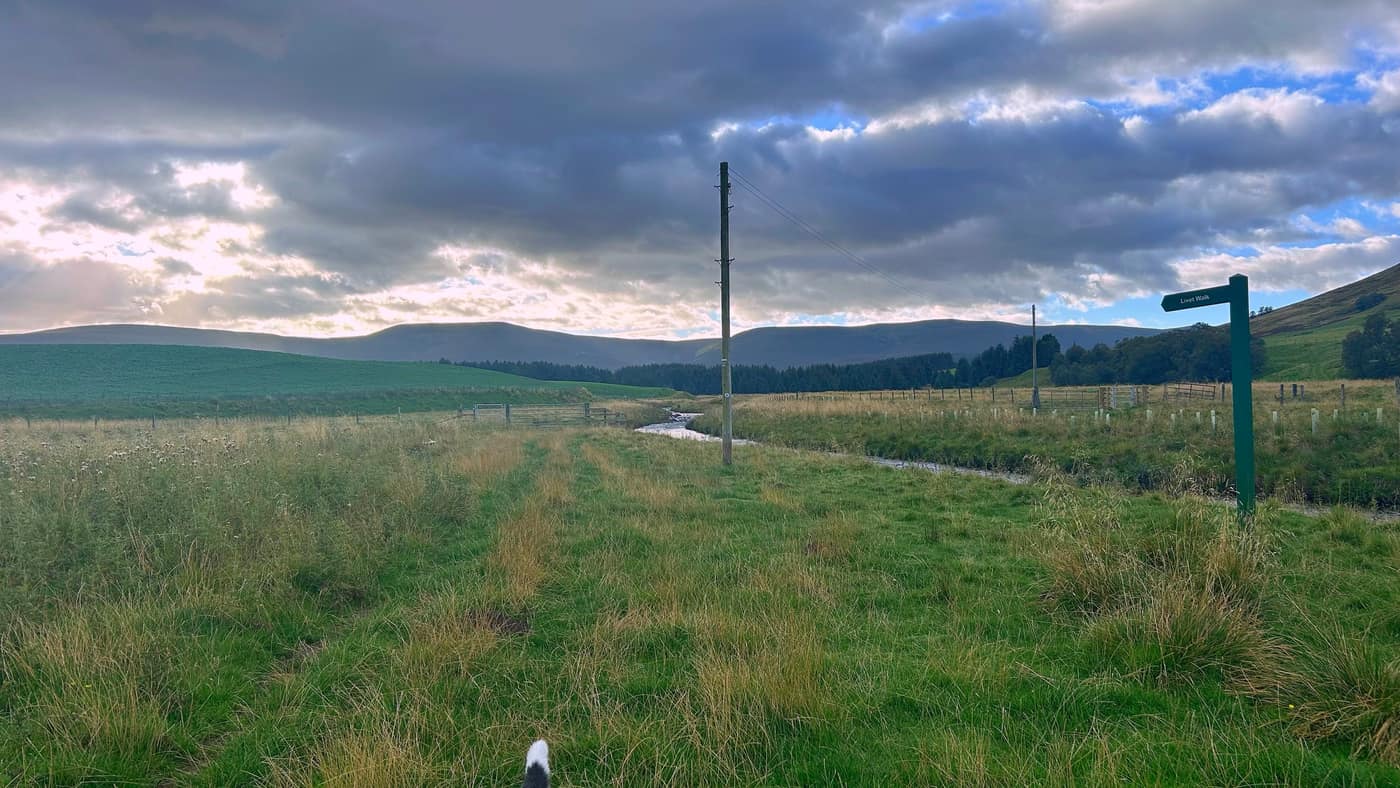
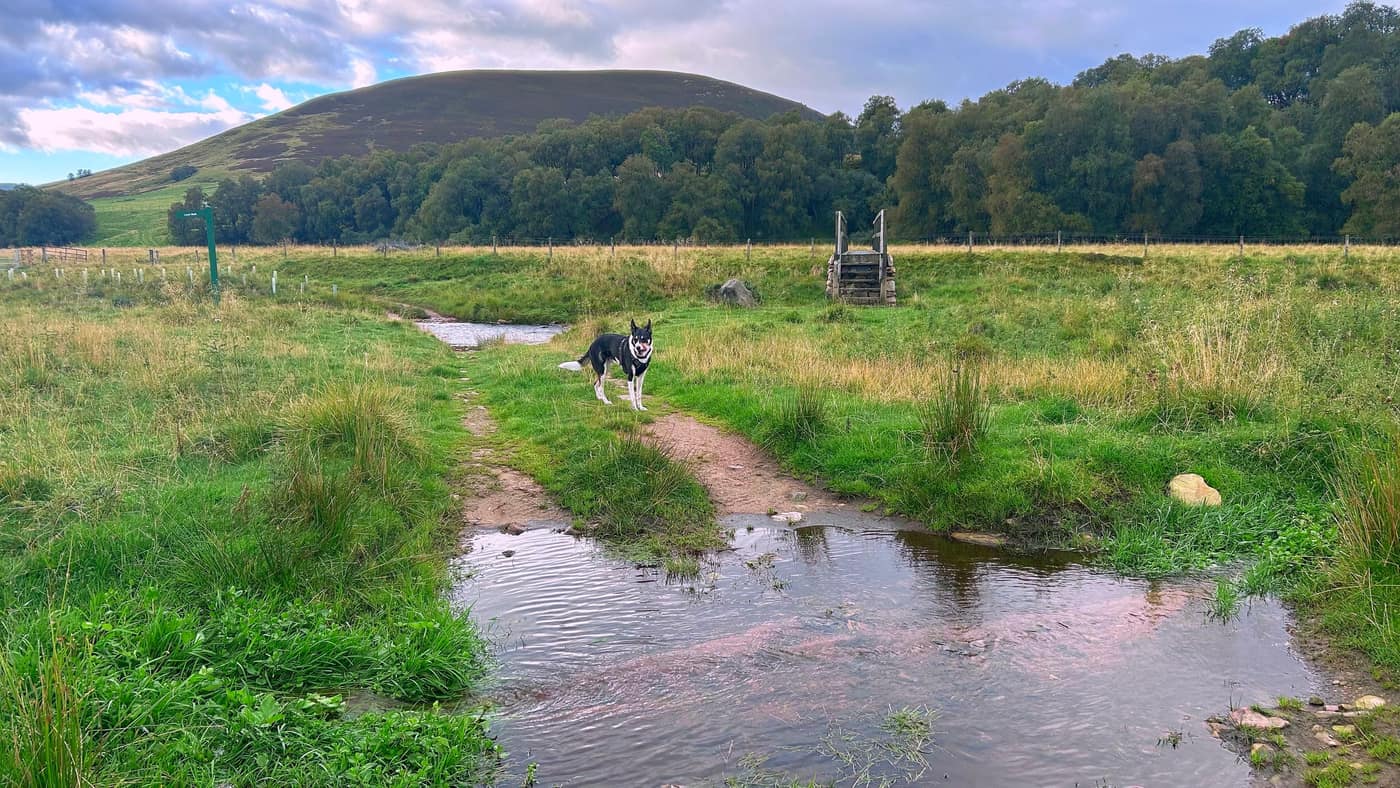
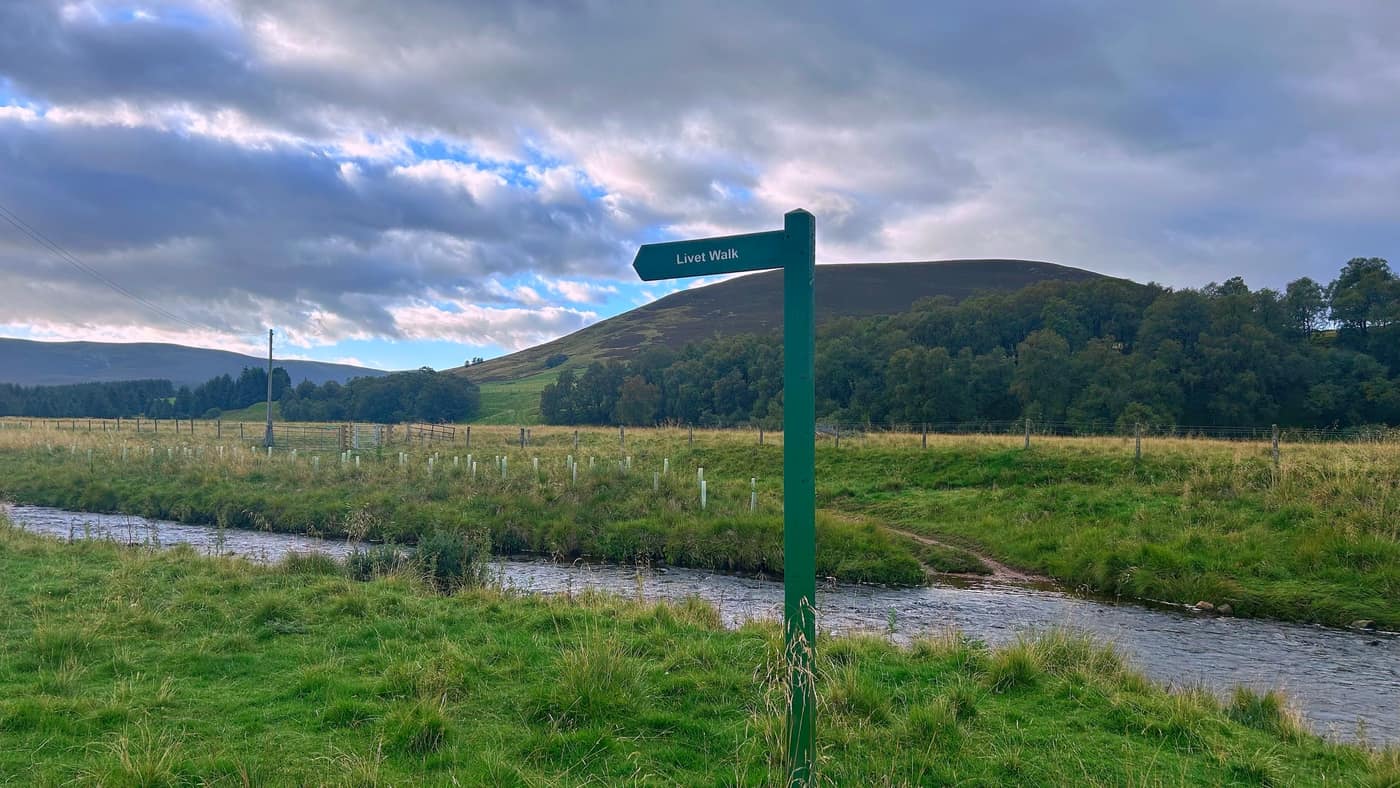
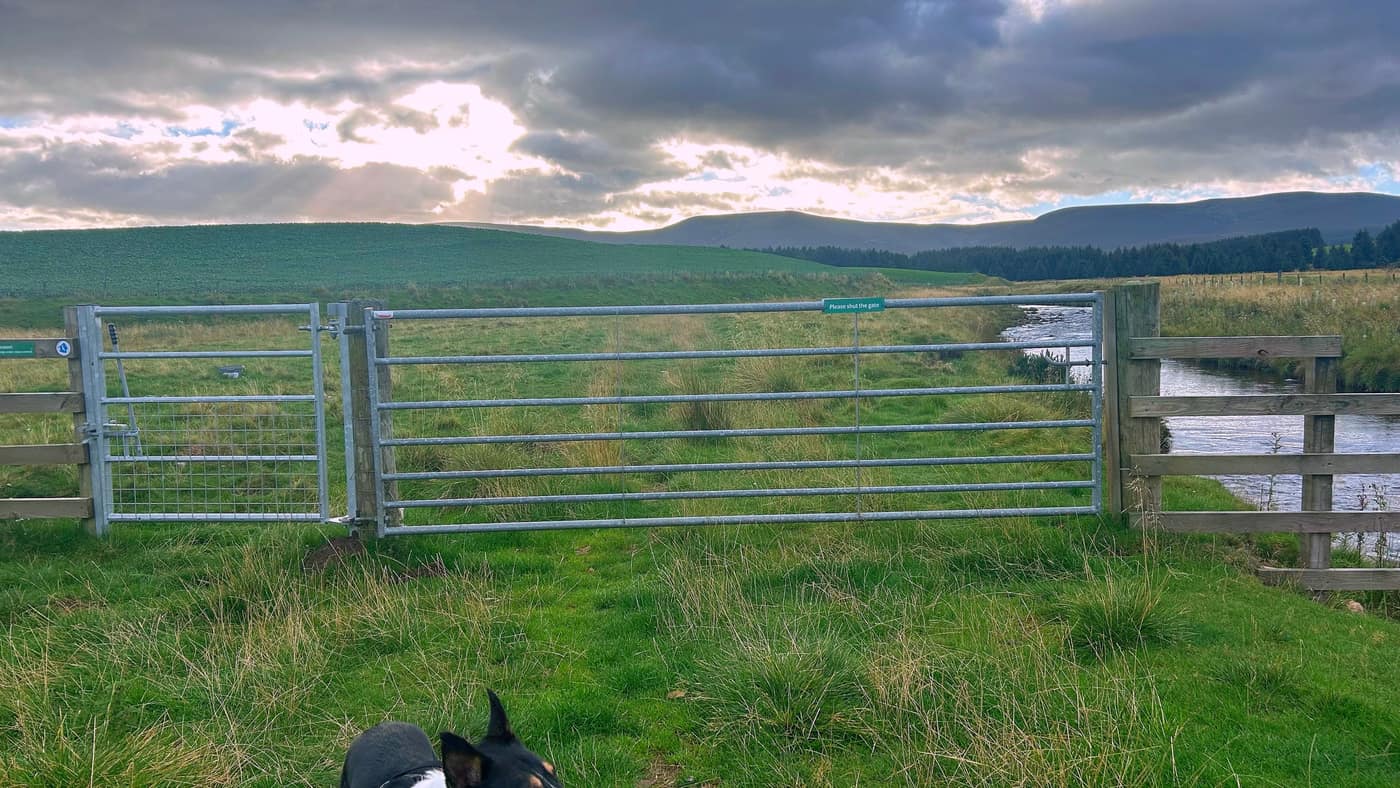
When you get to the bridge, don’t cross it. Look left and you’ll see a gate — head towards that gate.
Through the woods
Keep walking straight ahead after the gate until you come to a second gate, which takes you through a wooded area.
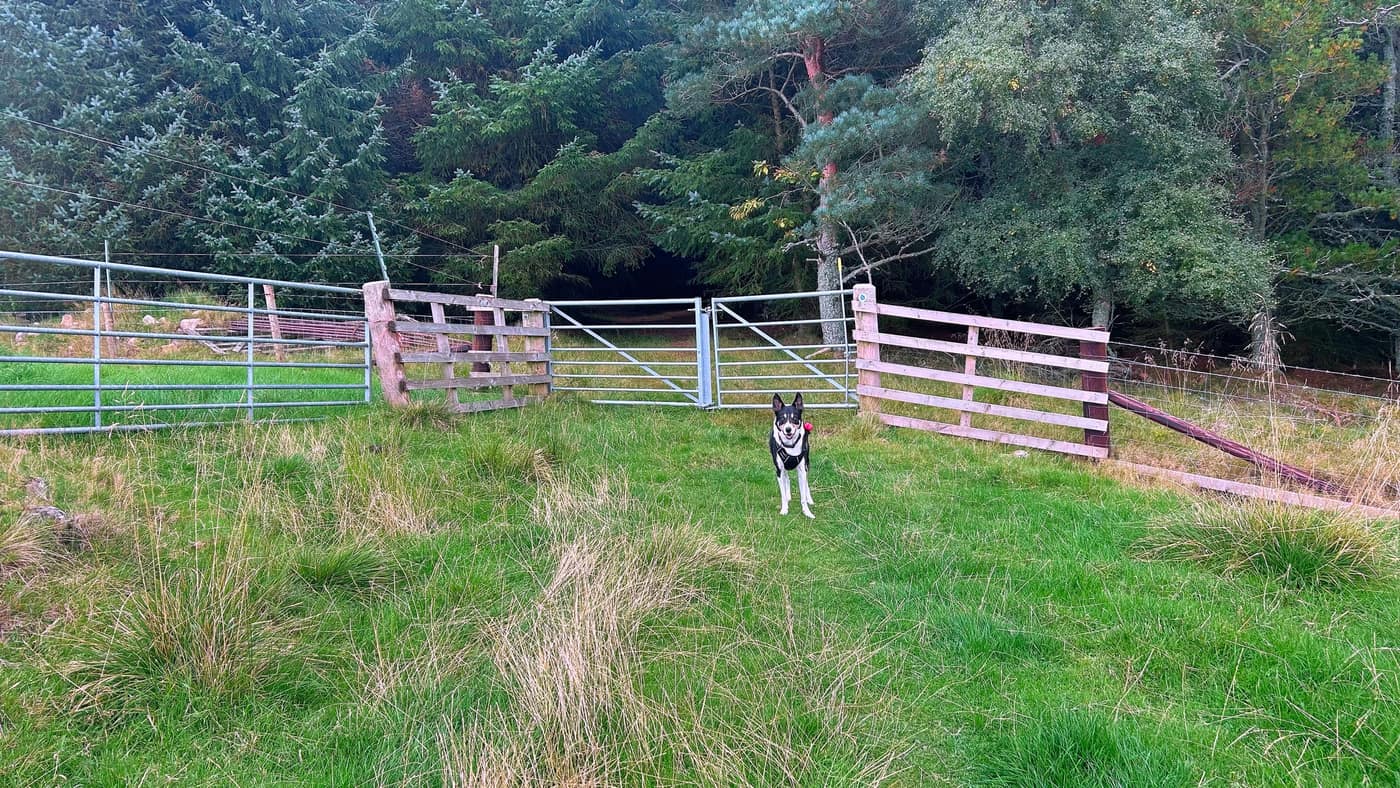
It’s a little boggy halfway down the path here, but again, just check the sides — there’s always a way round, be it stones or sometimes bridges in these types of areas.
The open field
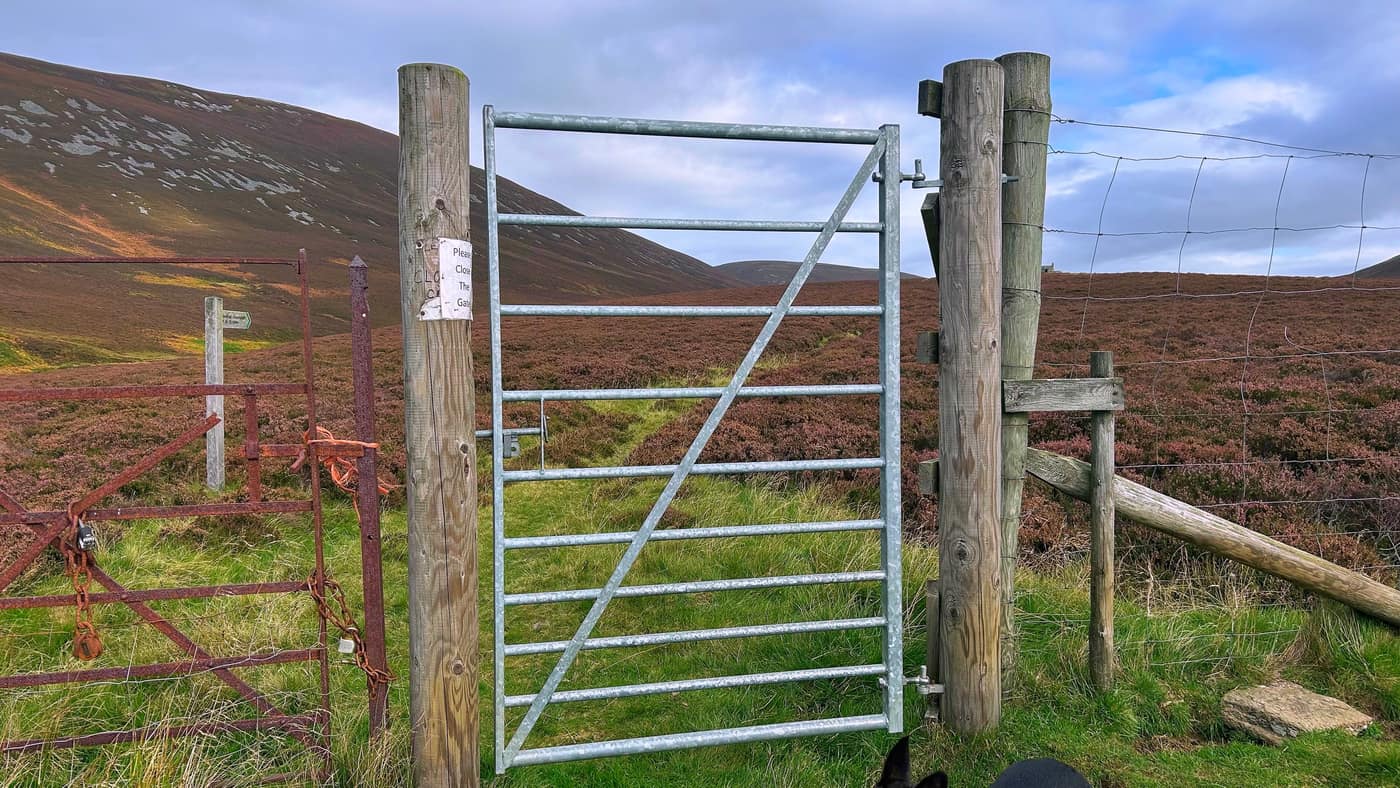
Carry on until the next gate, which takes you into another open field, and just keep walking straight with the fence on your left.
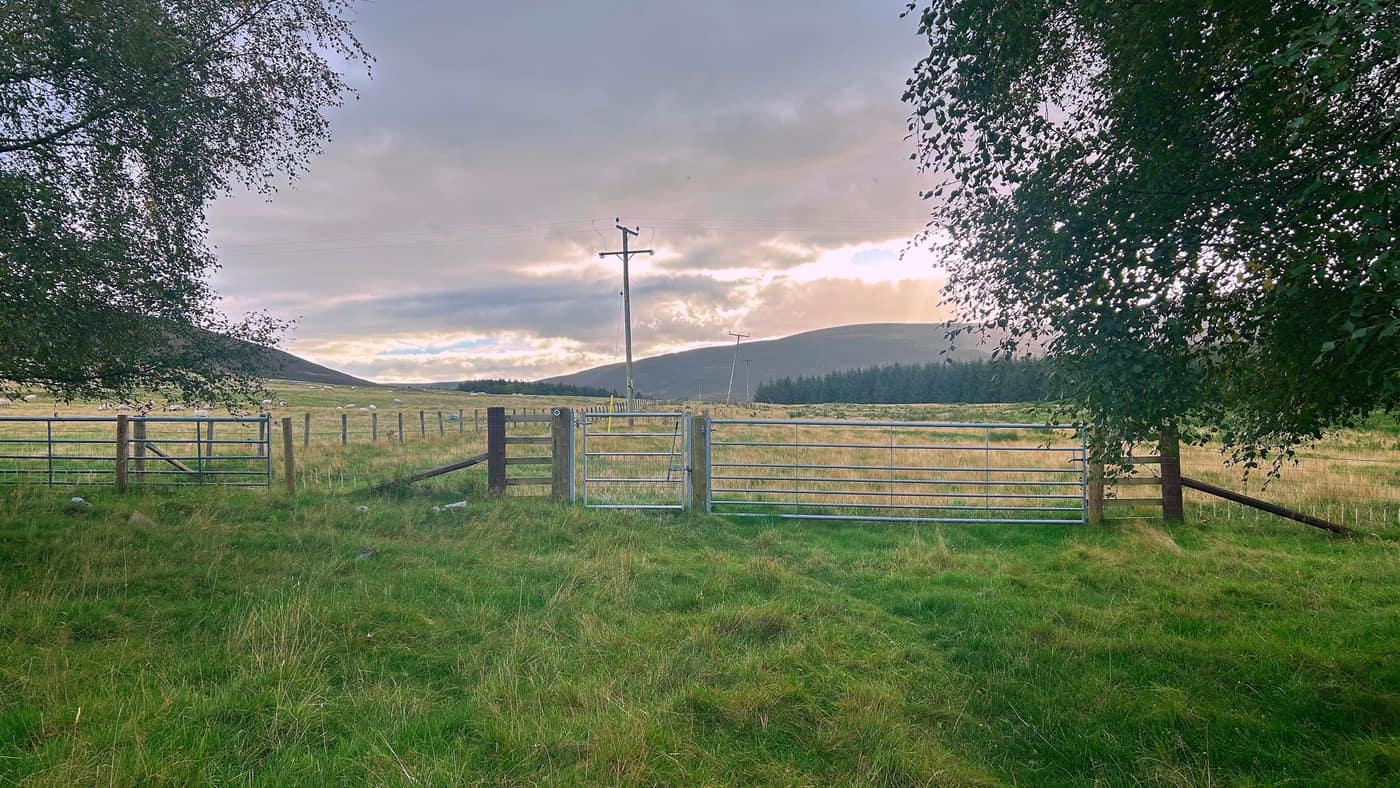
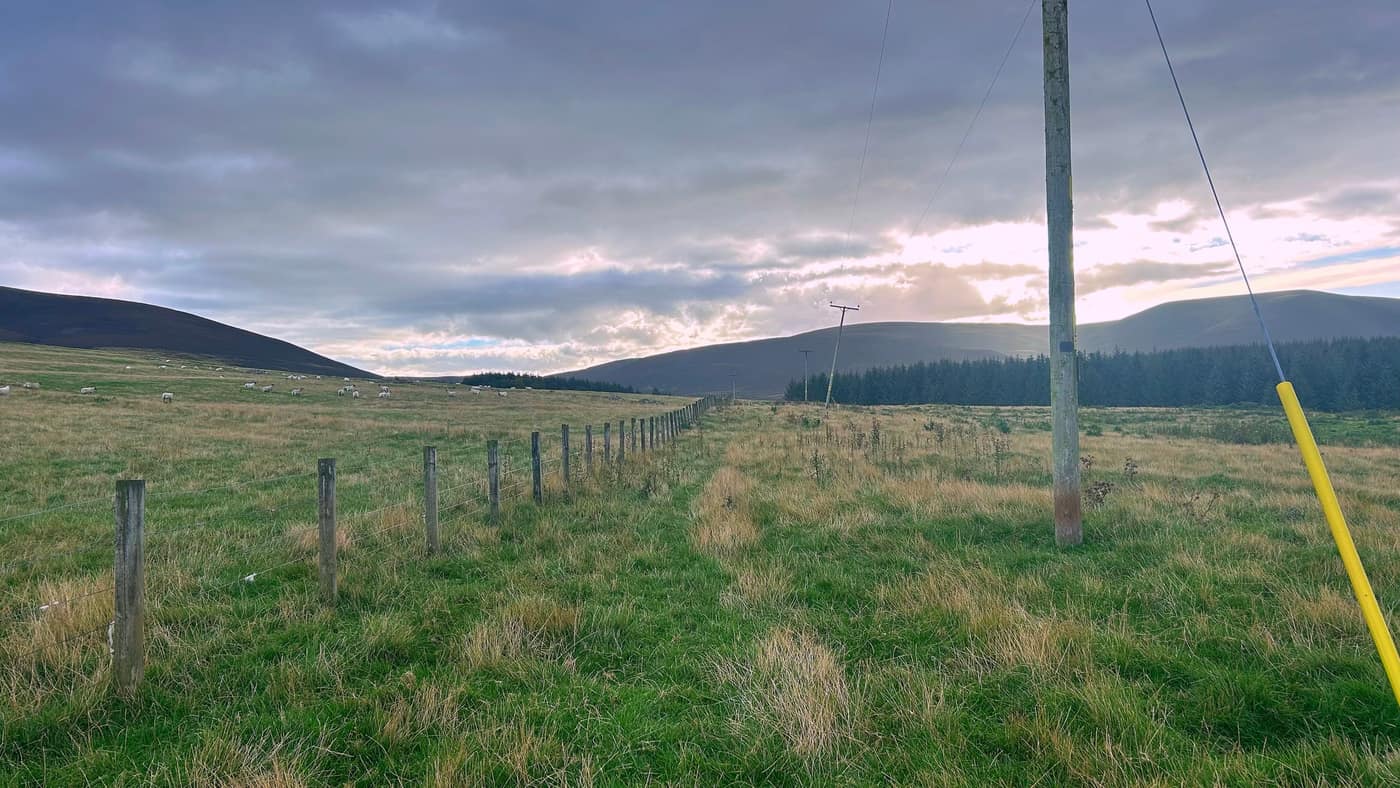
Be aware of gunshots here. If your dog’s sensitive to hearing them it might scare him off, so it’s maybe worth keeping him on a lead if he gets anxious at loud noises.
Another wet patch
Once you reach the next gate, turn right down the path.
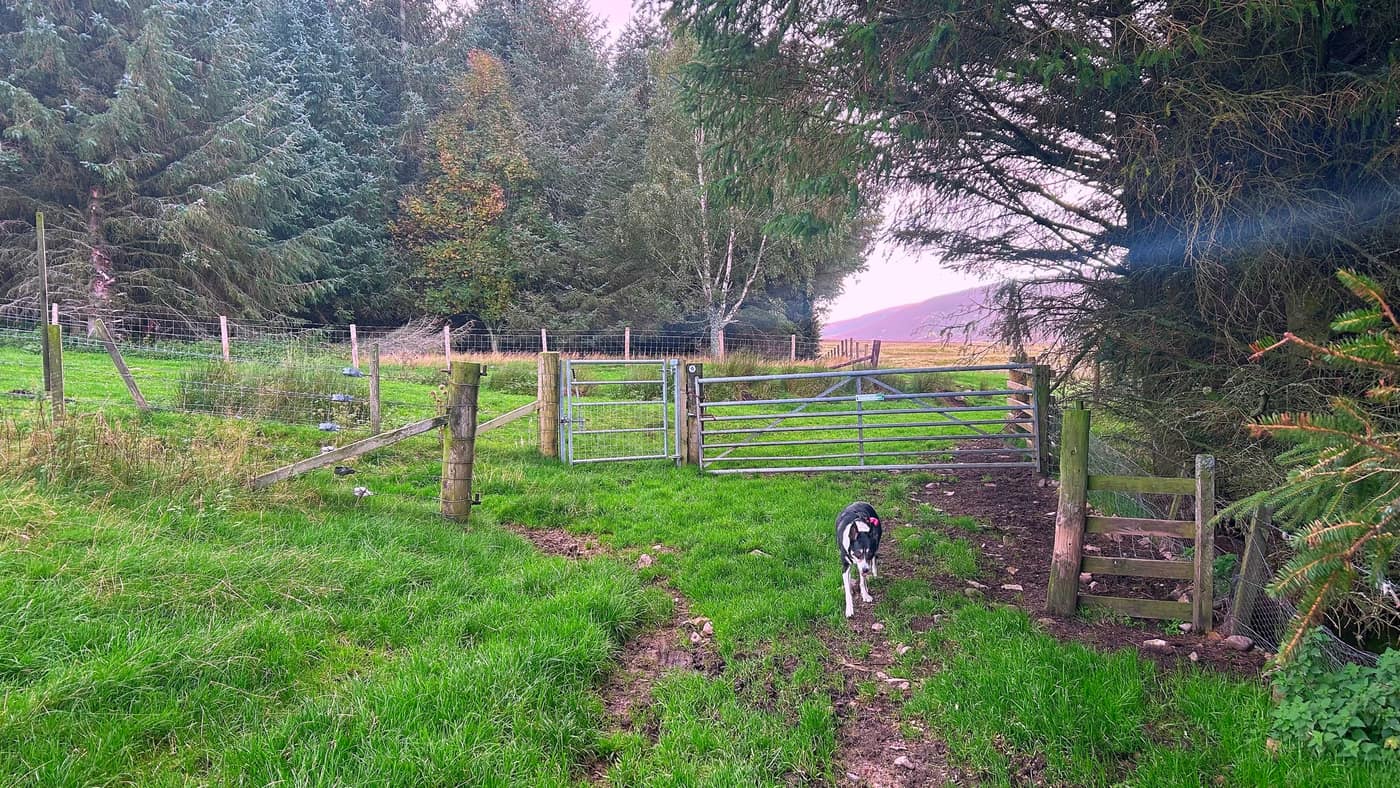
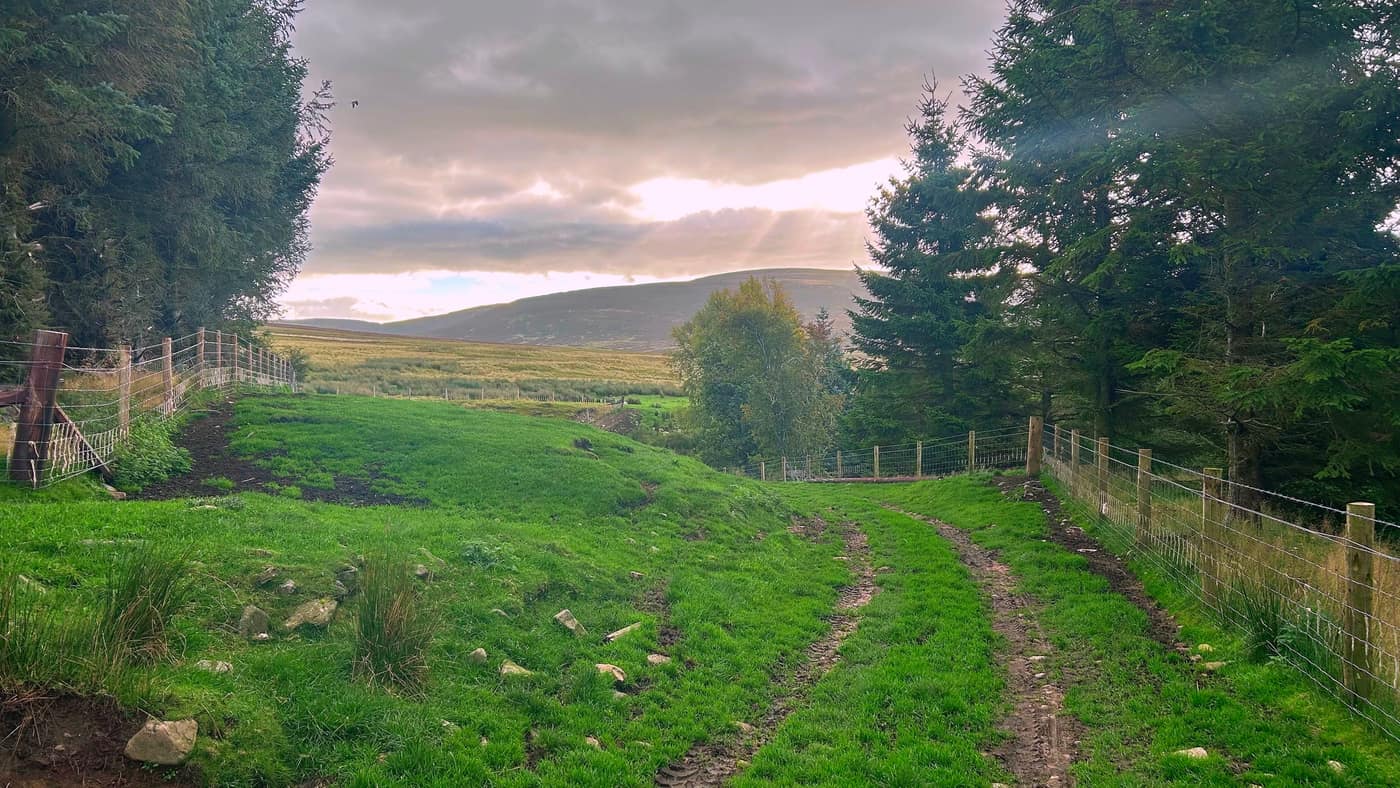
You’ll come across another wet patch. This one has a little bridge to the right that’s worth taking, but you can use the stones that surround it to step across — so it’s your pick, unless you’re wearing flip flops.
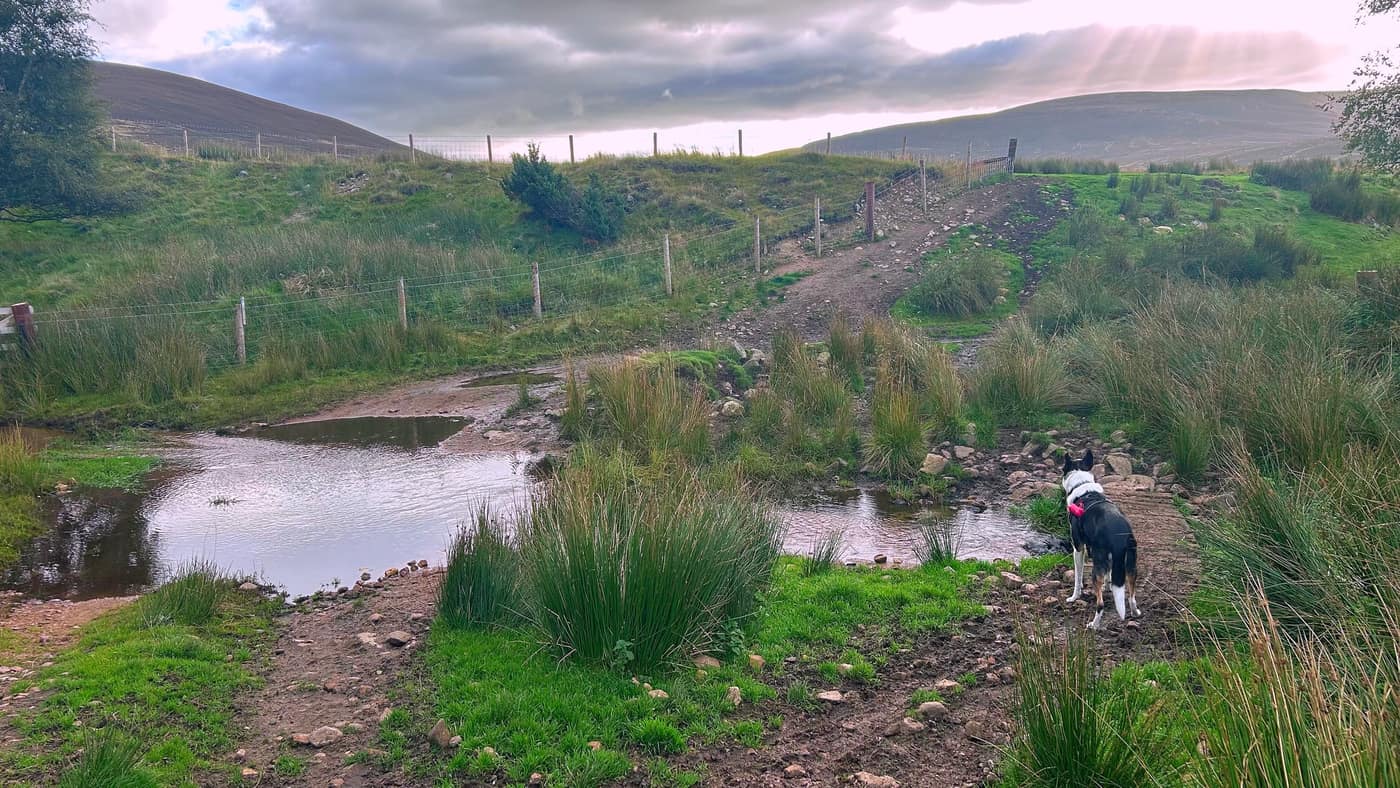
The second bridge
Remember the bridge from earlier, the one you didn’t cross? Well, the next one you see is pretty much identical — and you’re crossing this one, and turning left until you come to a gate with a small house to the right.
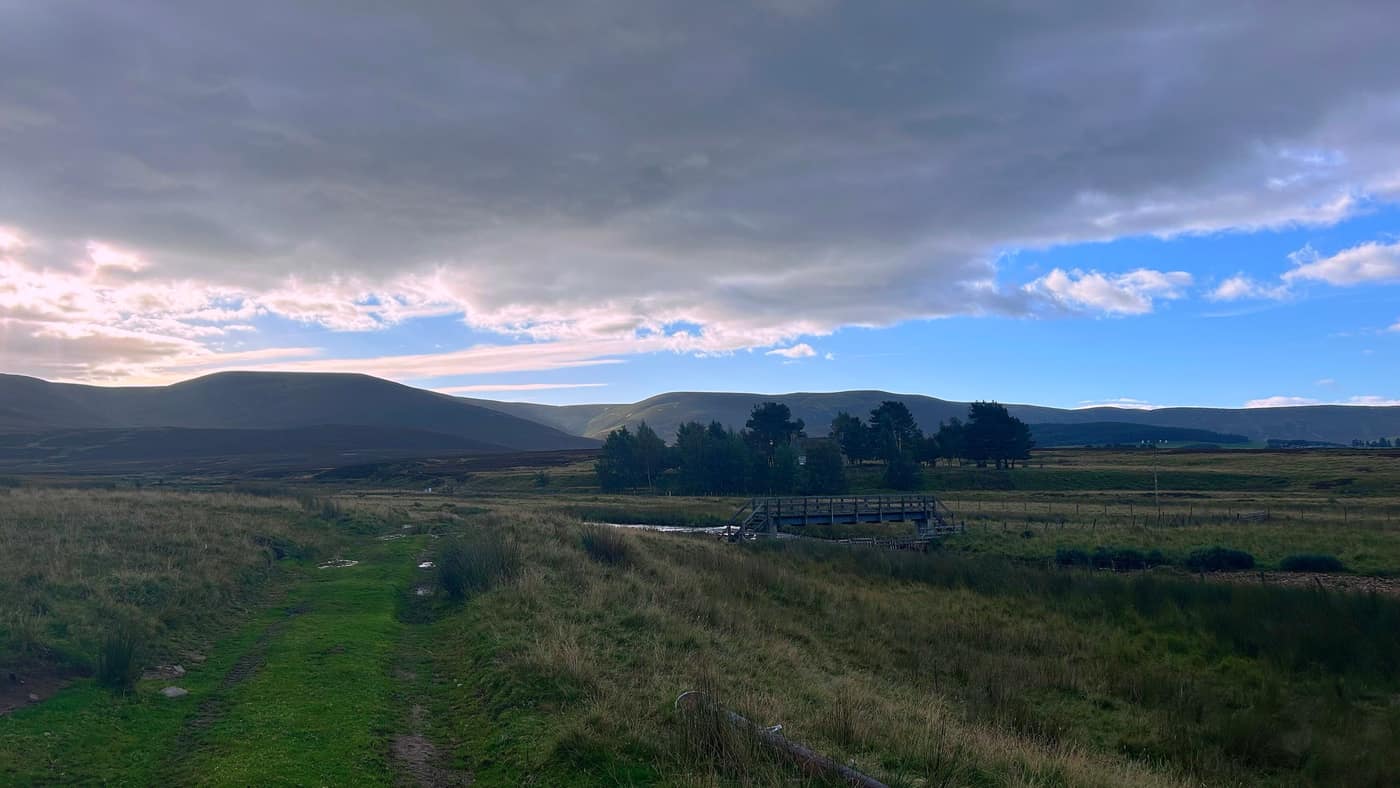
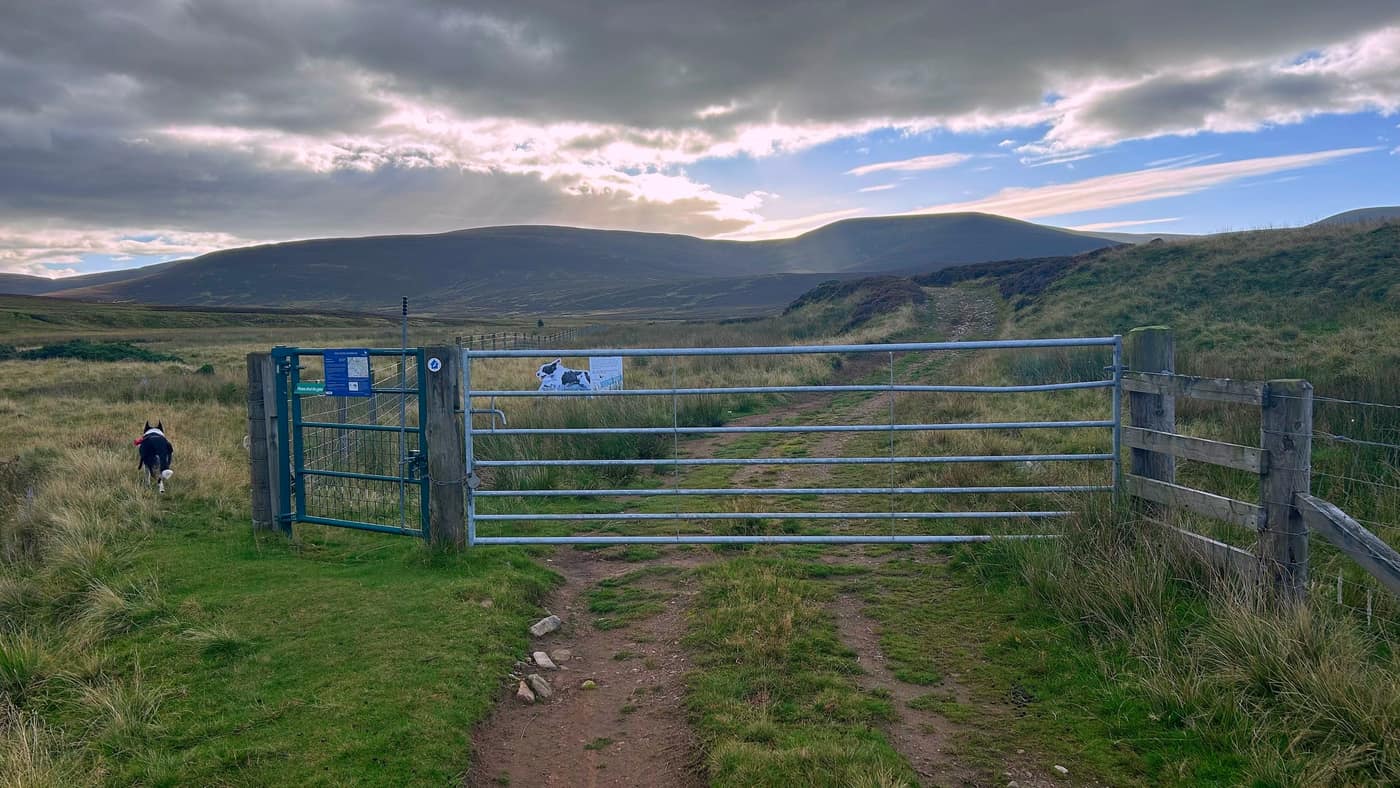
After the gate you have around a 10 to 15 minute walk until you reach the next gate, where things get interesting.
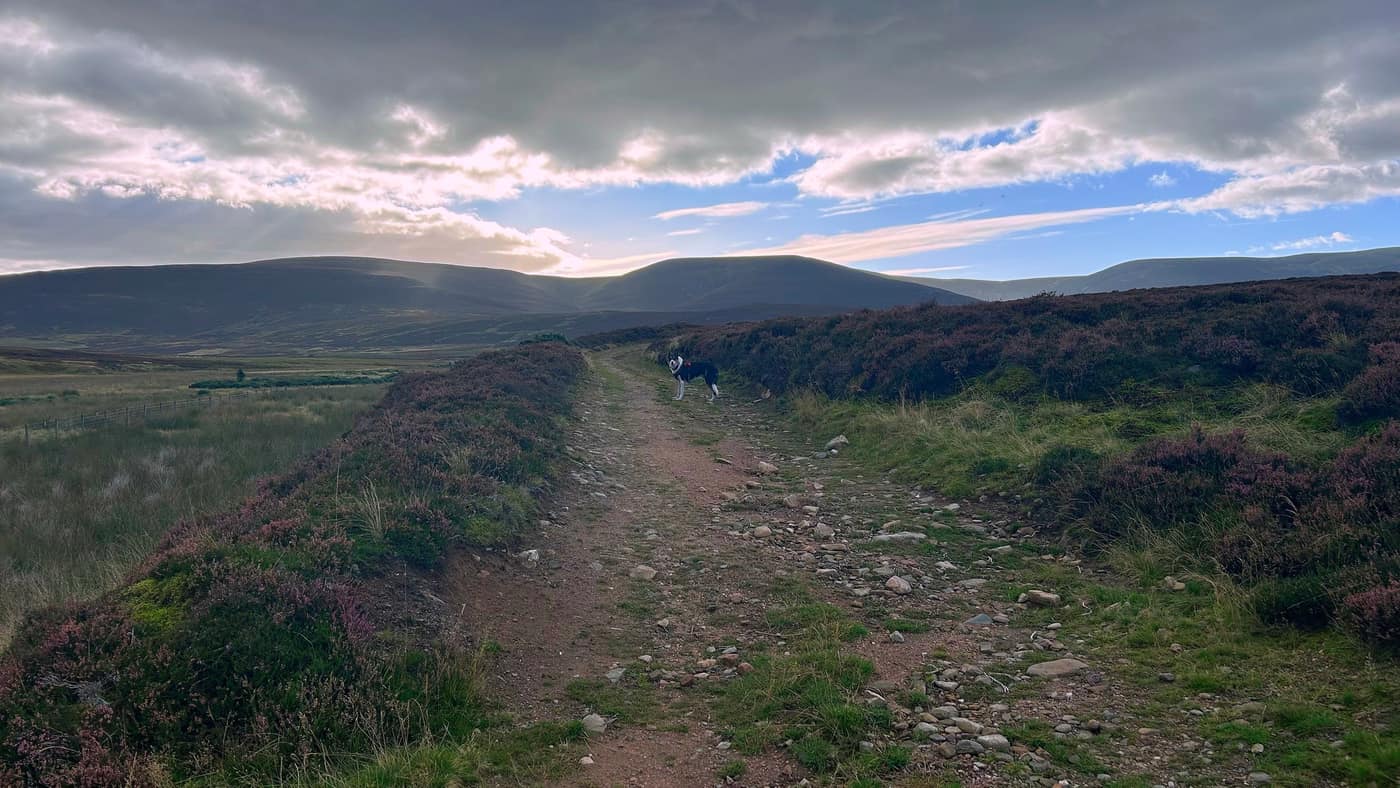
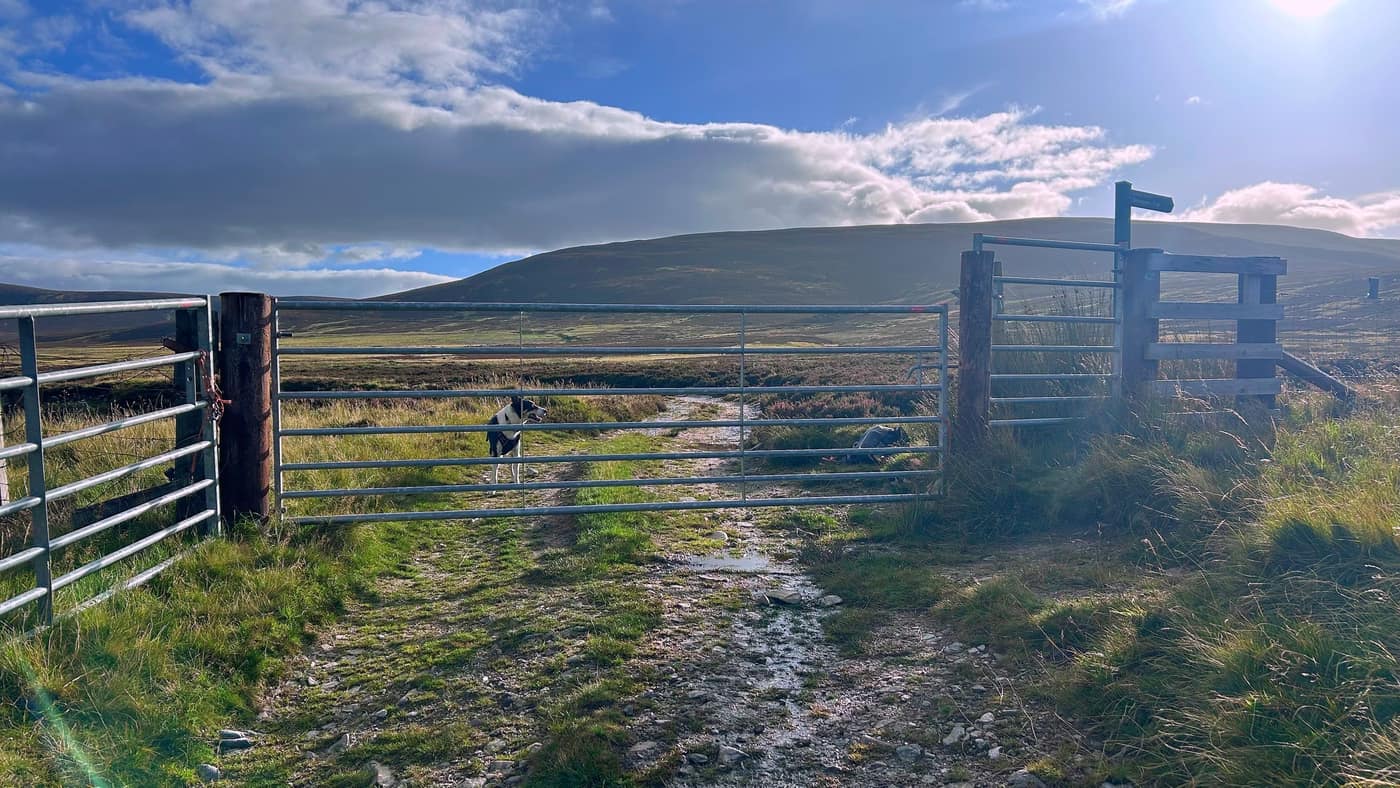
The river crossing
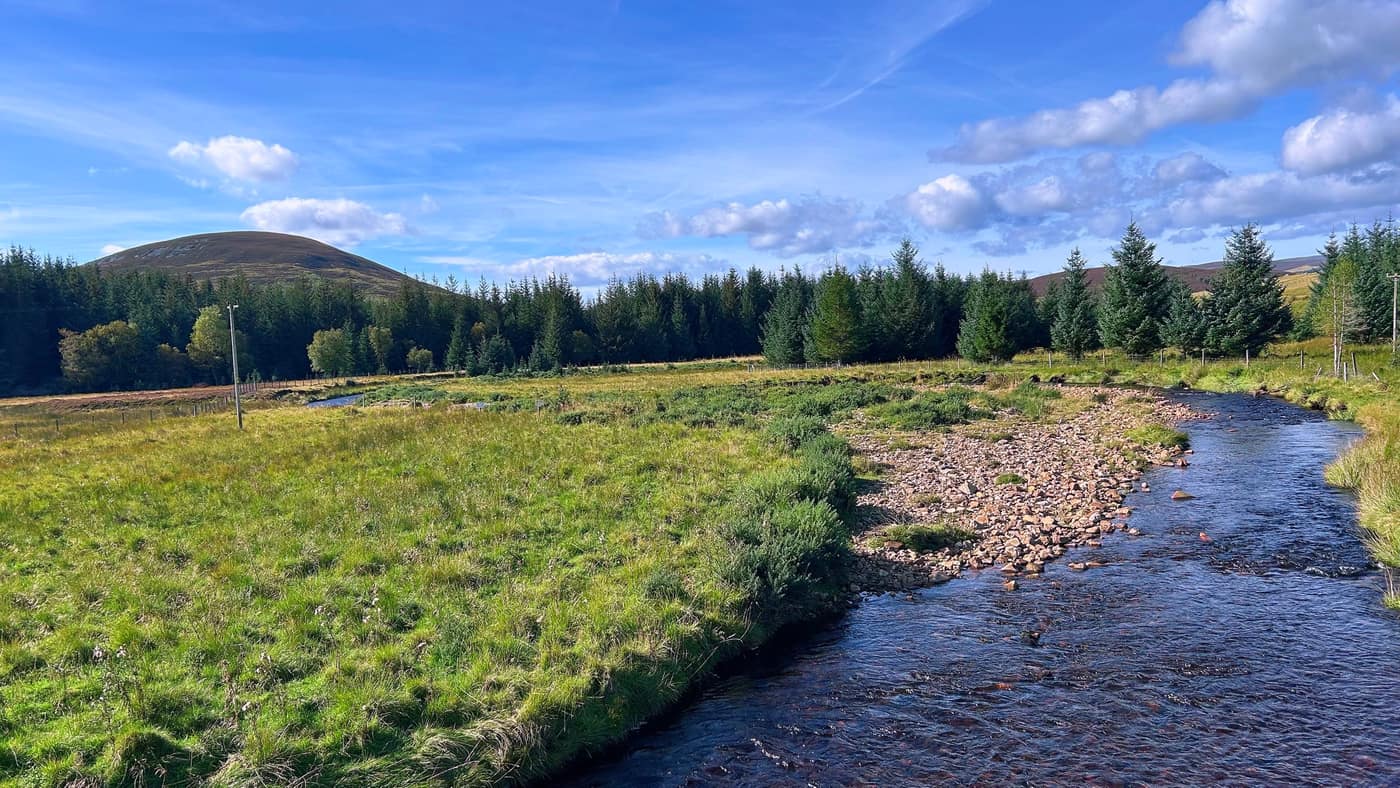
After the gate, always bear left by the river to keep on the track. You may come across sheep on this trail, so it’s good to keep your dog on a lead.
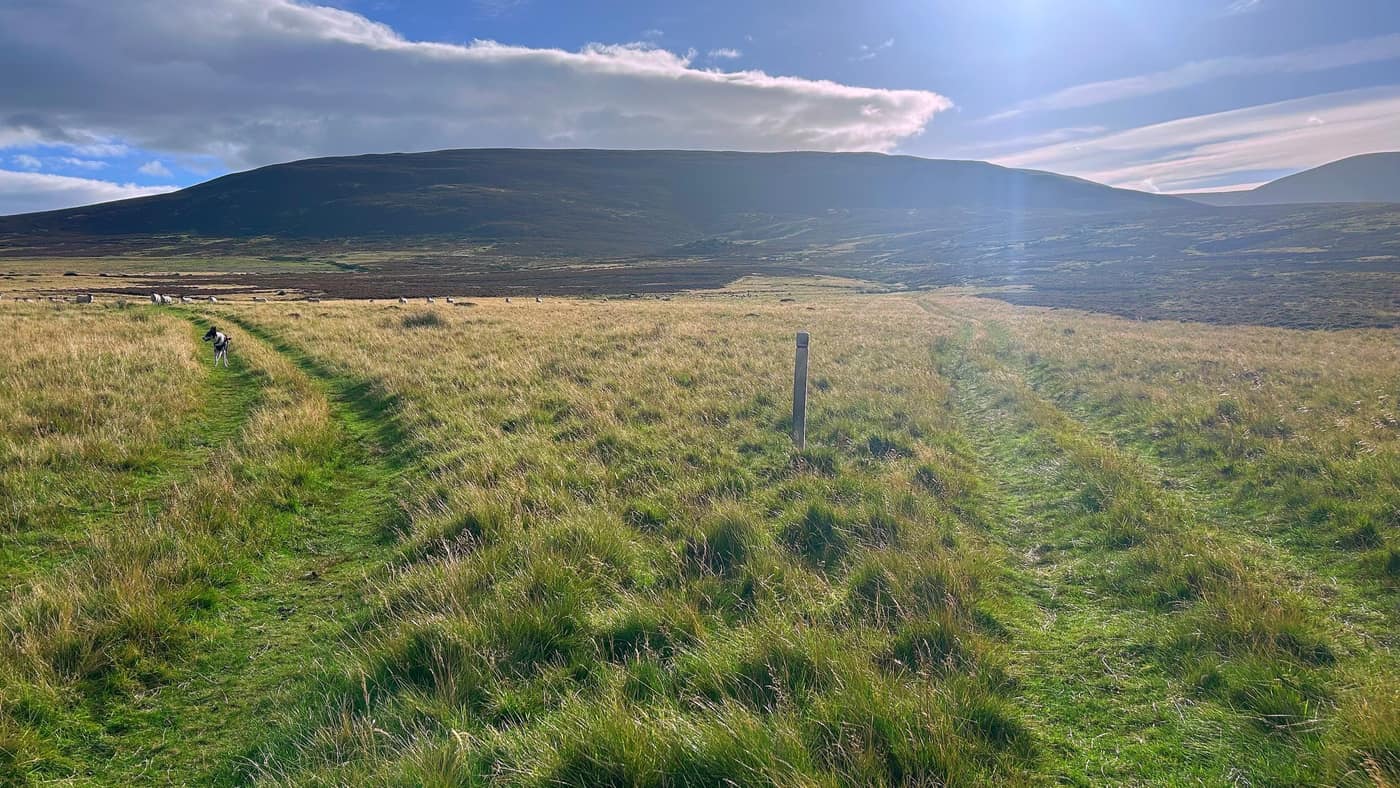
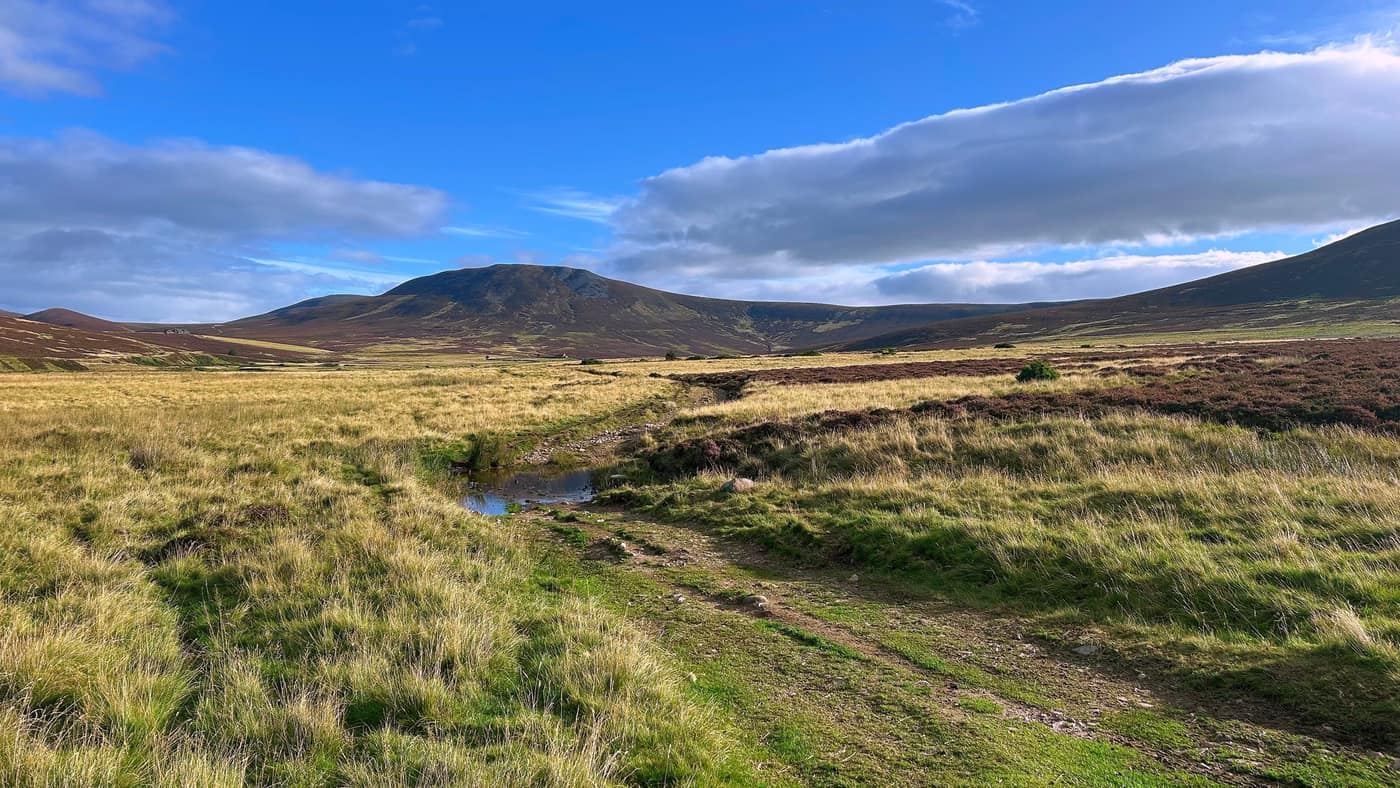
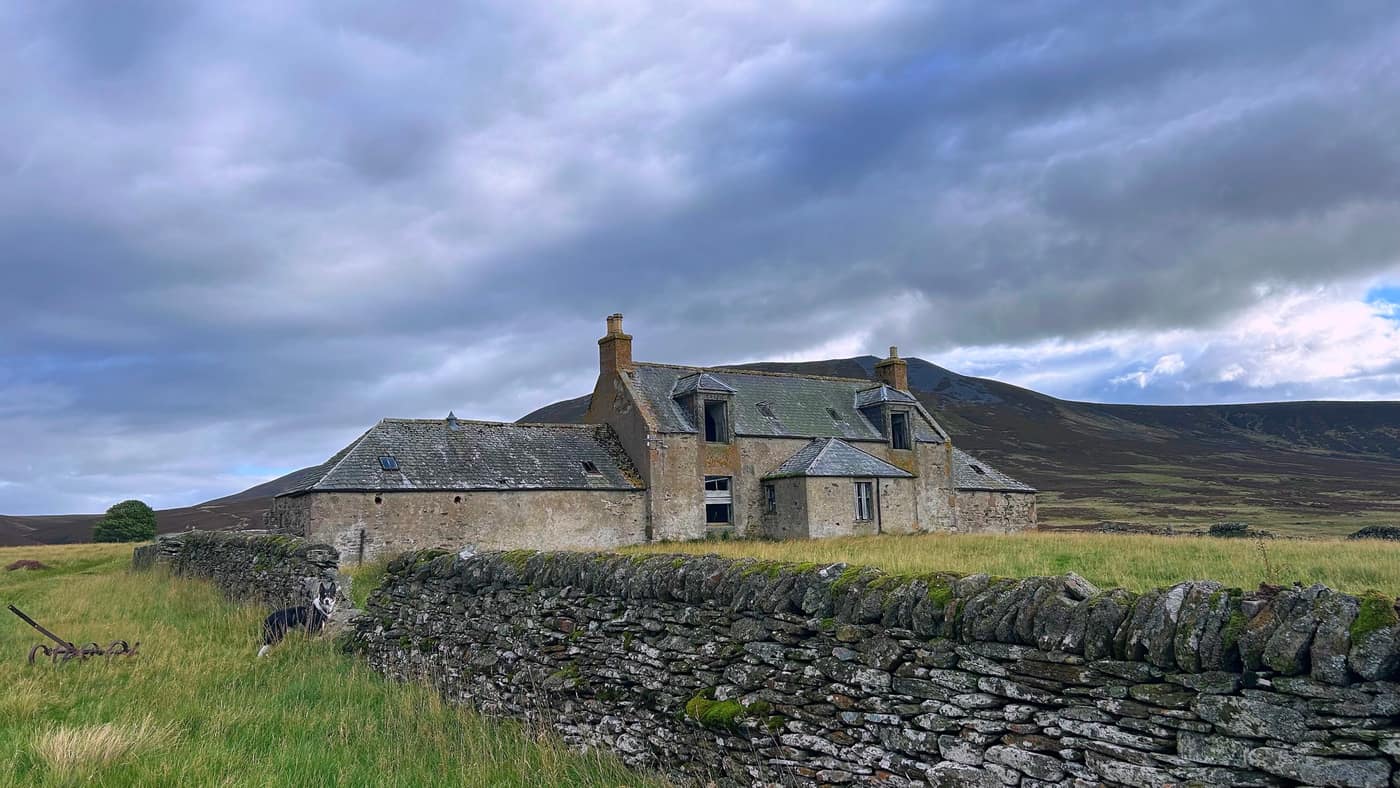
Eventually you’ll come to a river crossing. It’s shallow, and if you don’t mind getting your feet wet then cross it. But if you want the dry route, look up to your right and you’ll see a small abandoned farmhouse with a bridge next to it — head up towards that bridge, cross the river, and then head back down towards the track to join it at the other side.
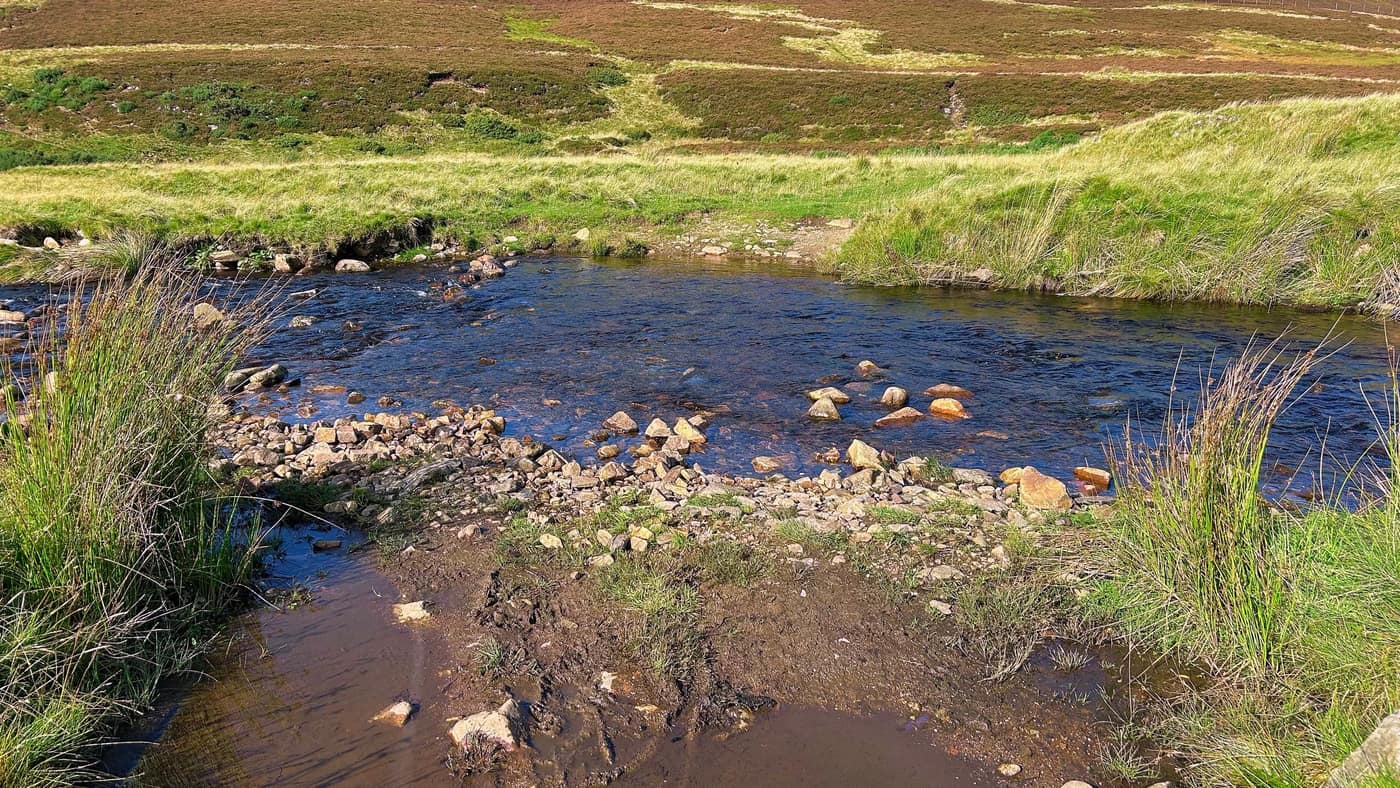
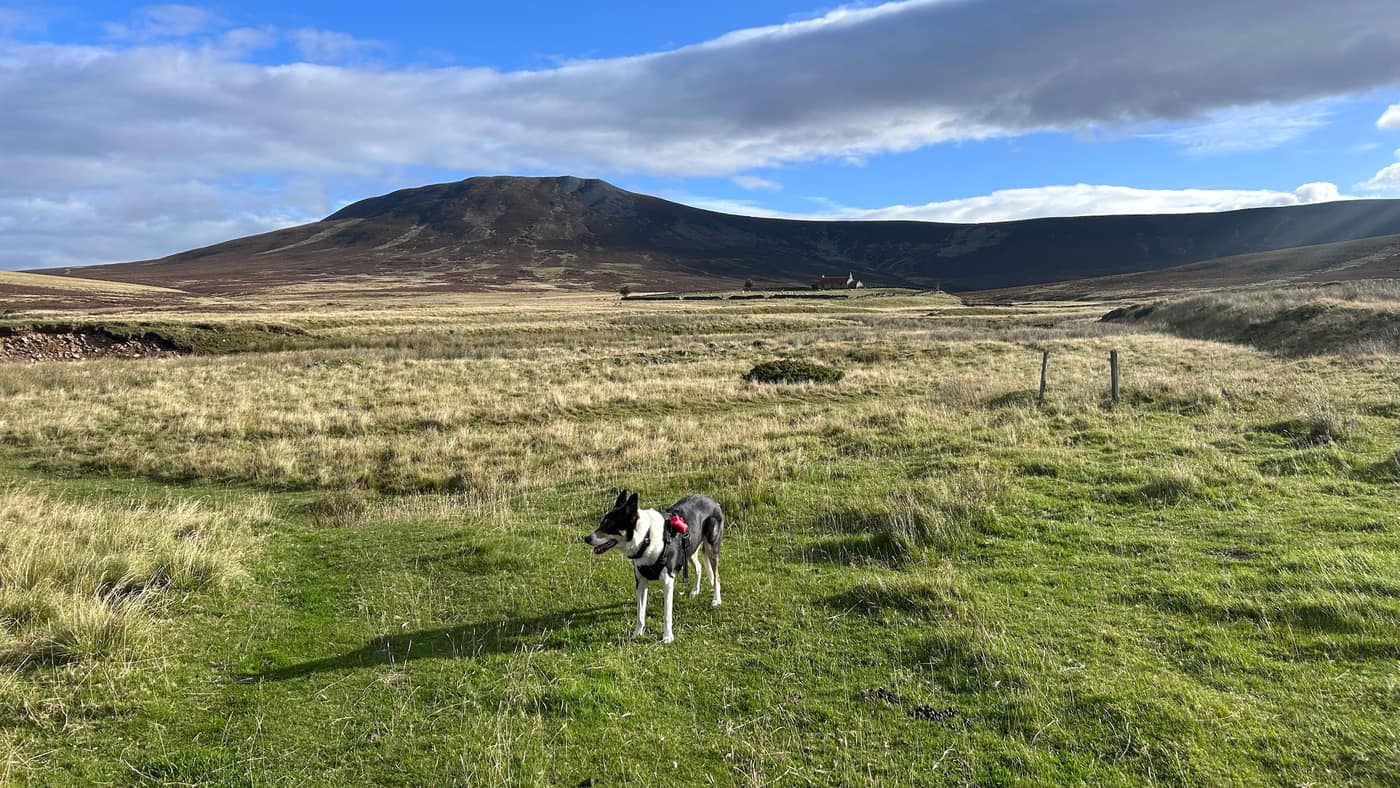
Me, I took the bridge route on the way up and the wet route on the way back, as I just wanted home by that point.
The steady climb
Once you’re back on track, keep walking until you see a gate. From here it’s a steady climb all the way up to Cook’s Cairn.
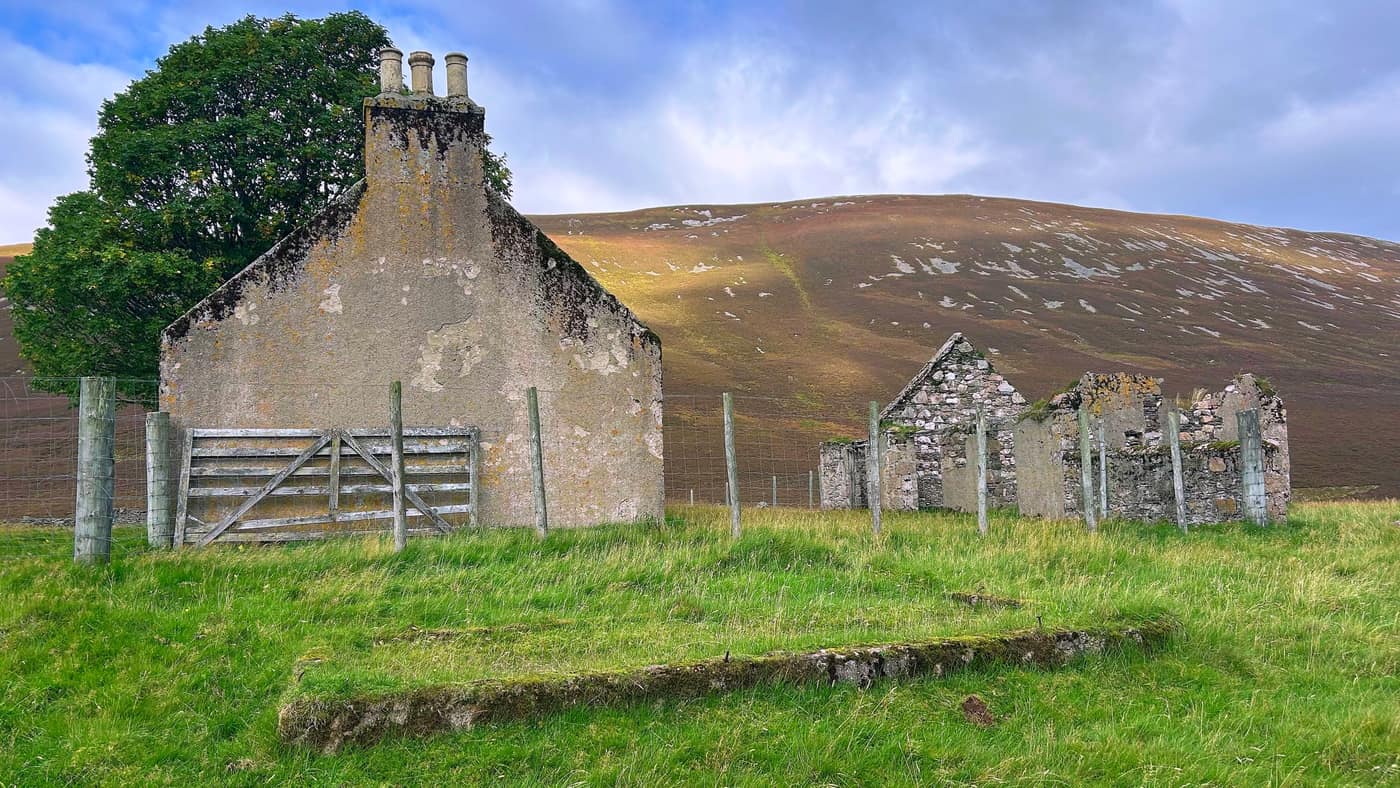
First you’ll come across an abandoned farmhouse on your right, then another on the left behind it.
The fork
After the house, keep following the track until you come to a fork. Take the path to the right and keep going.
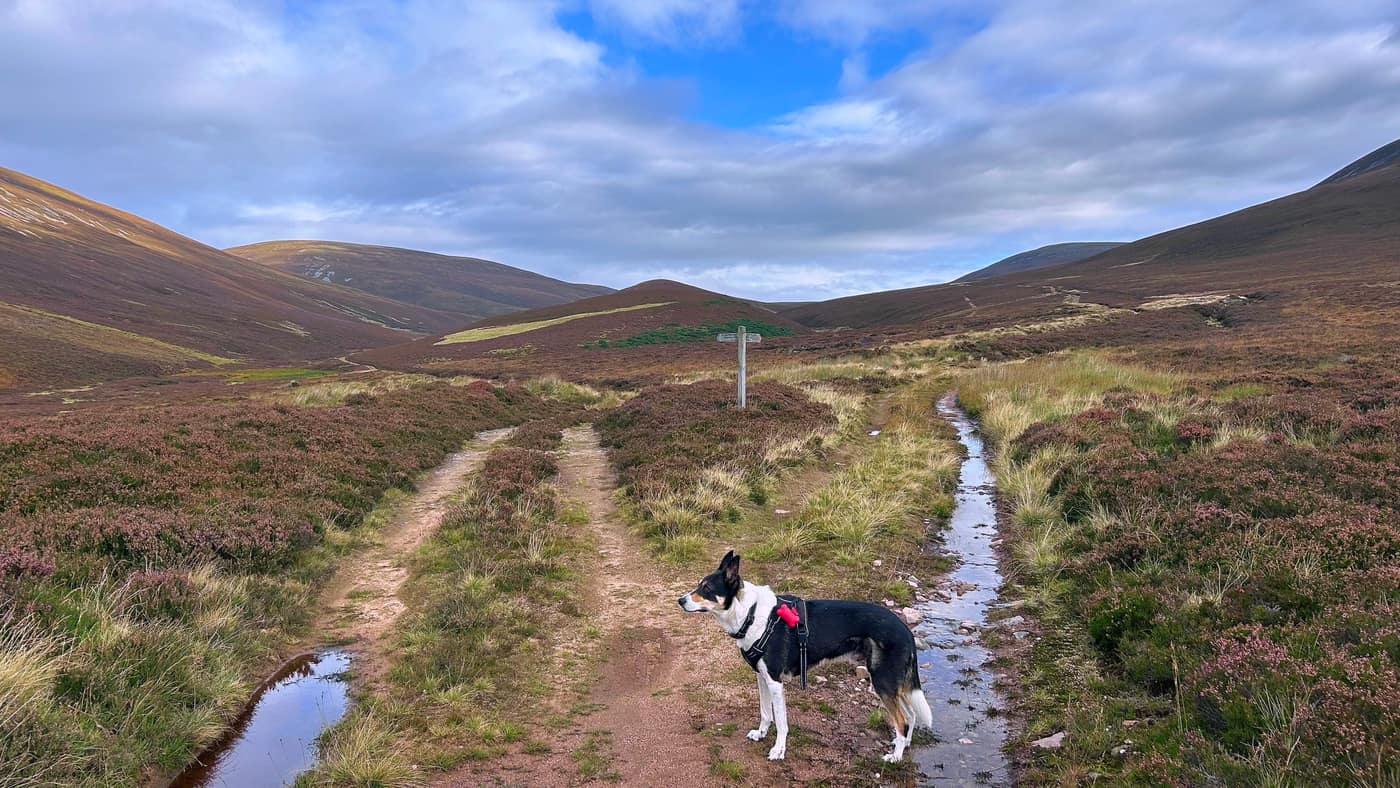
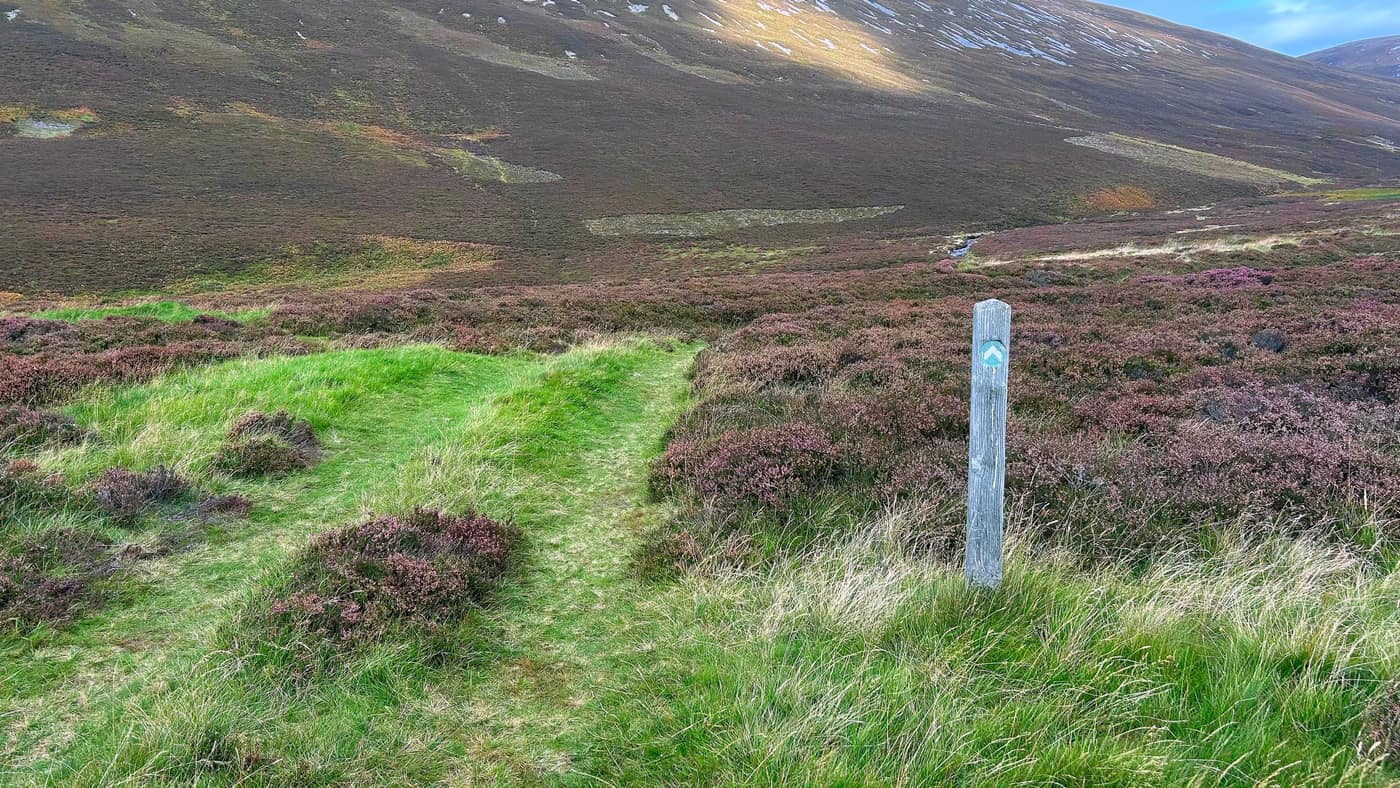
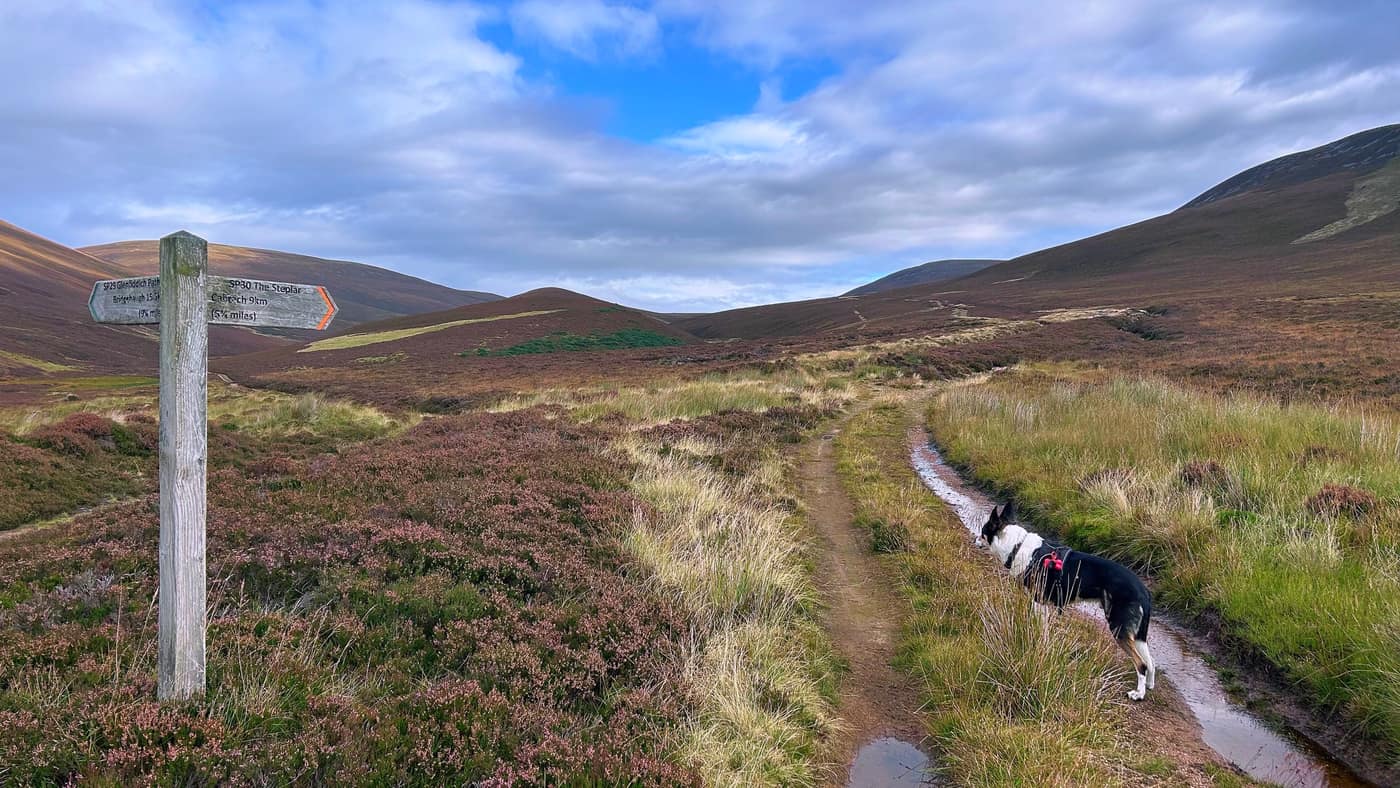
The windmills
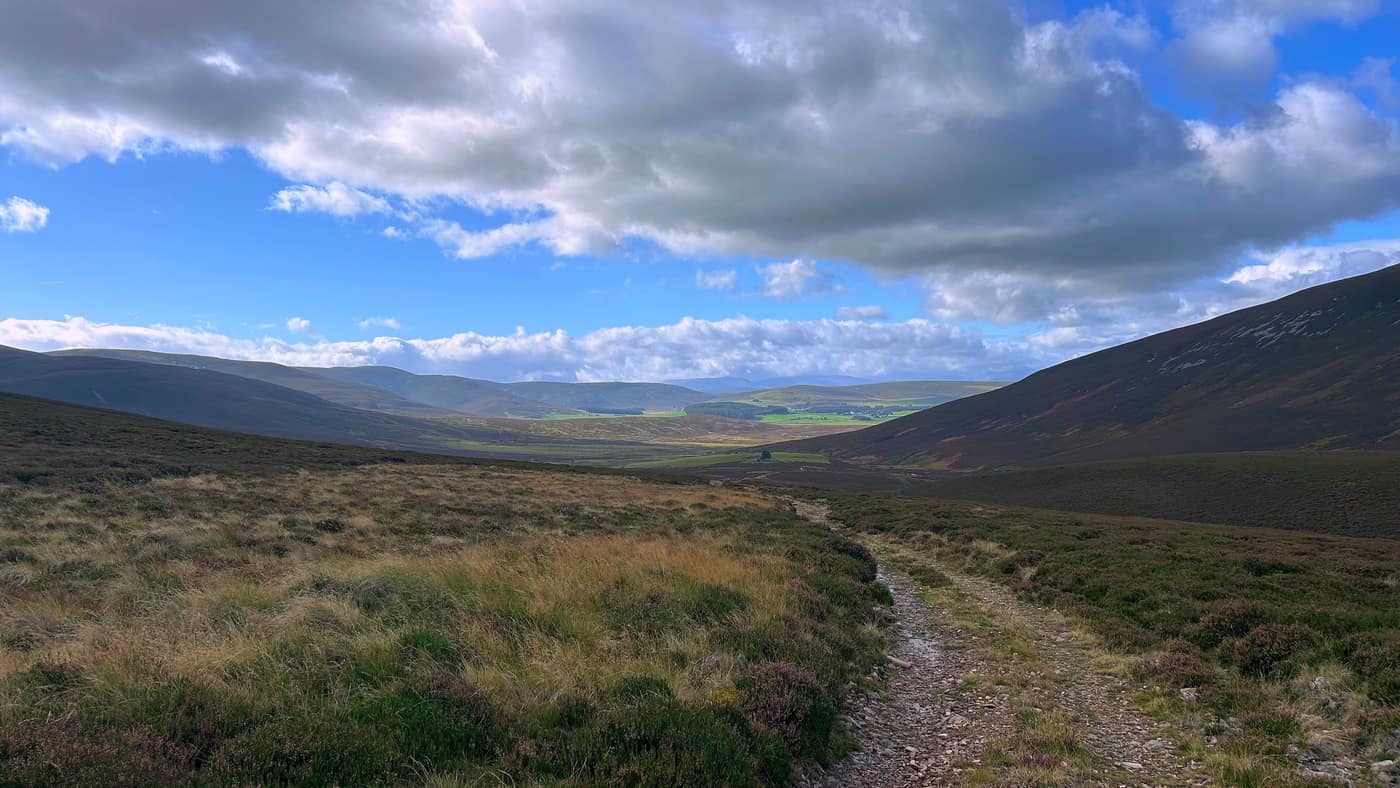
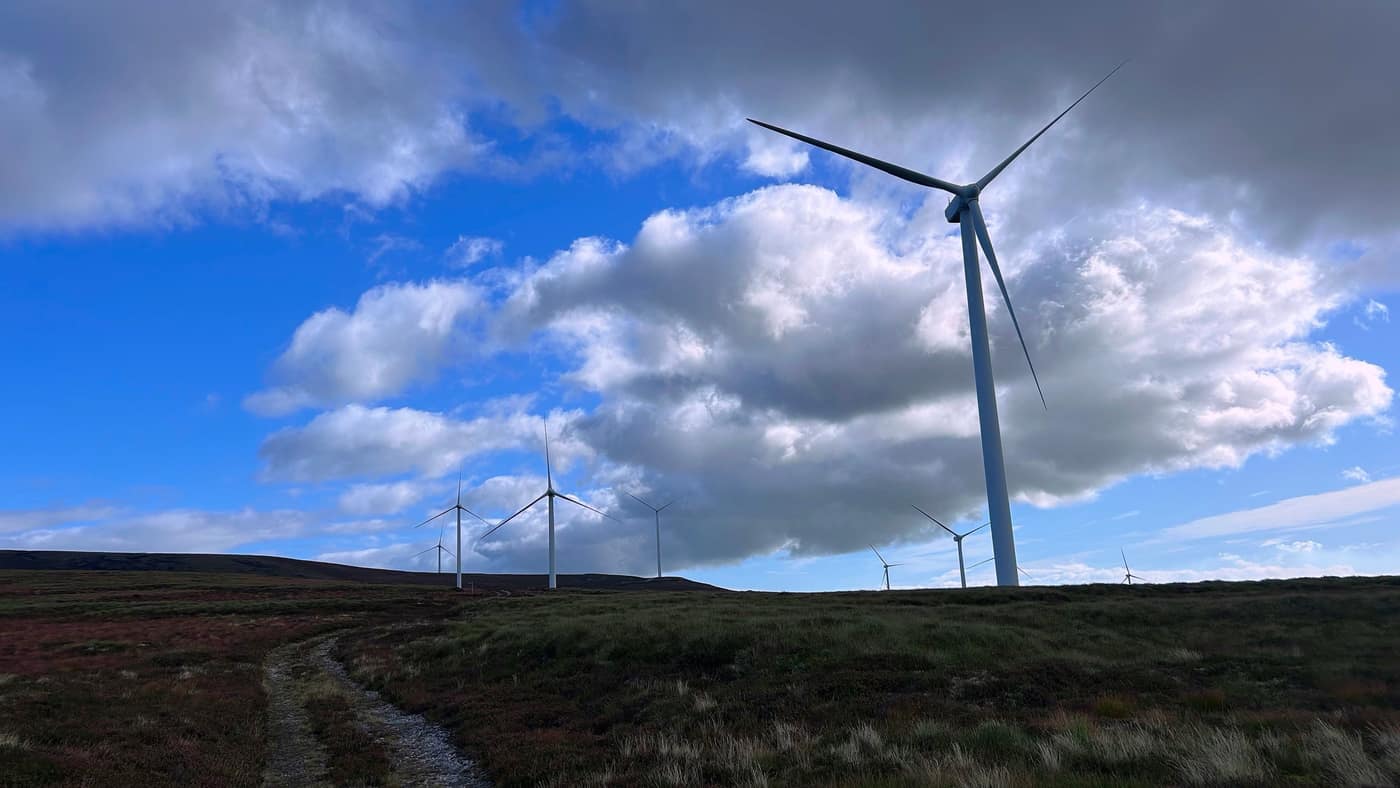
The climb is a steady one, and it started at the fork to be fair. This is the point where the views started to kick in. I took some photos of the windmills, then had a look back and took in the view of where I’d just walked up.
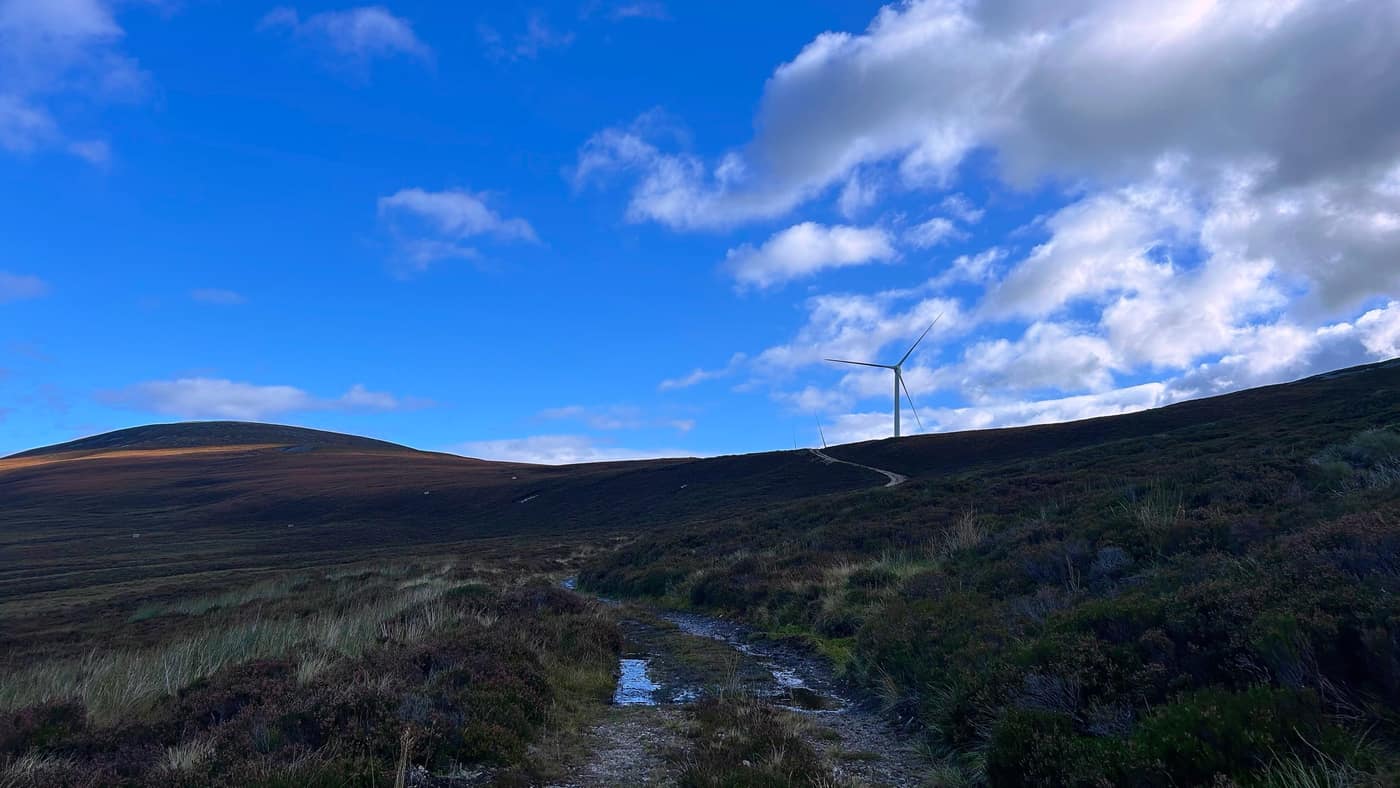
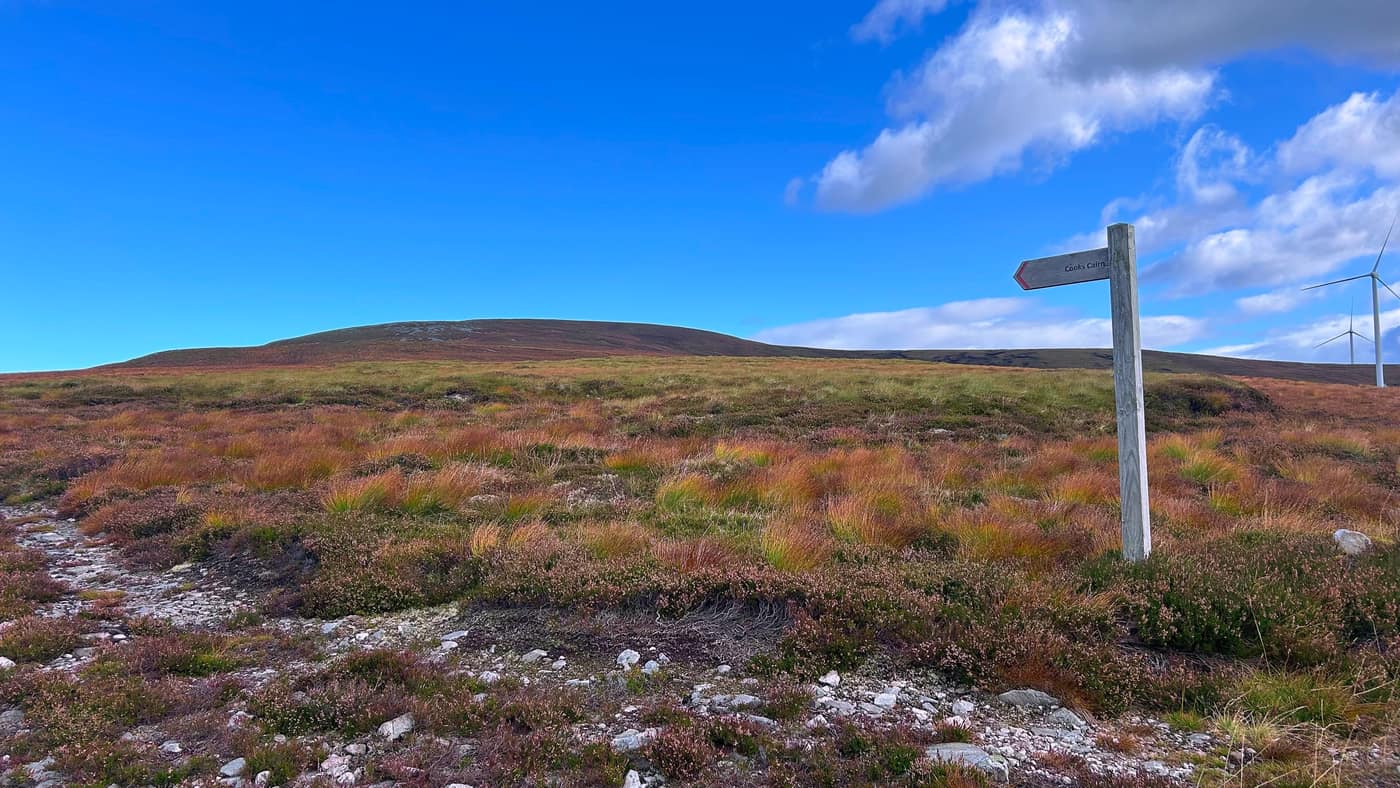
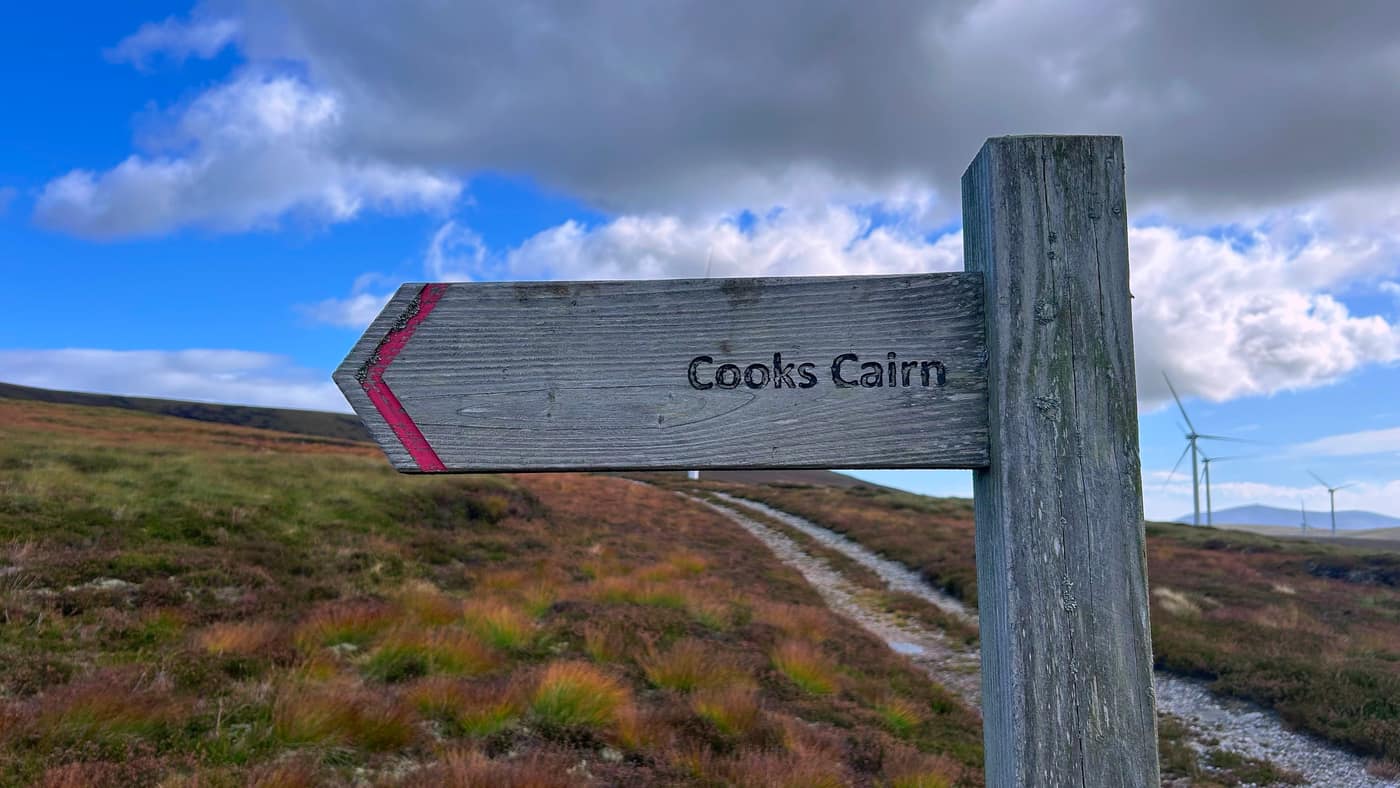
The Cook’s Cairn sign
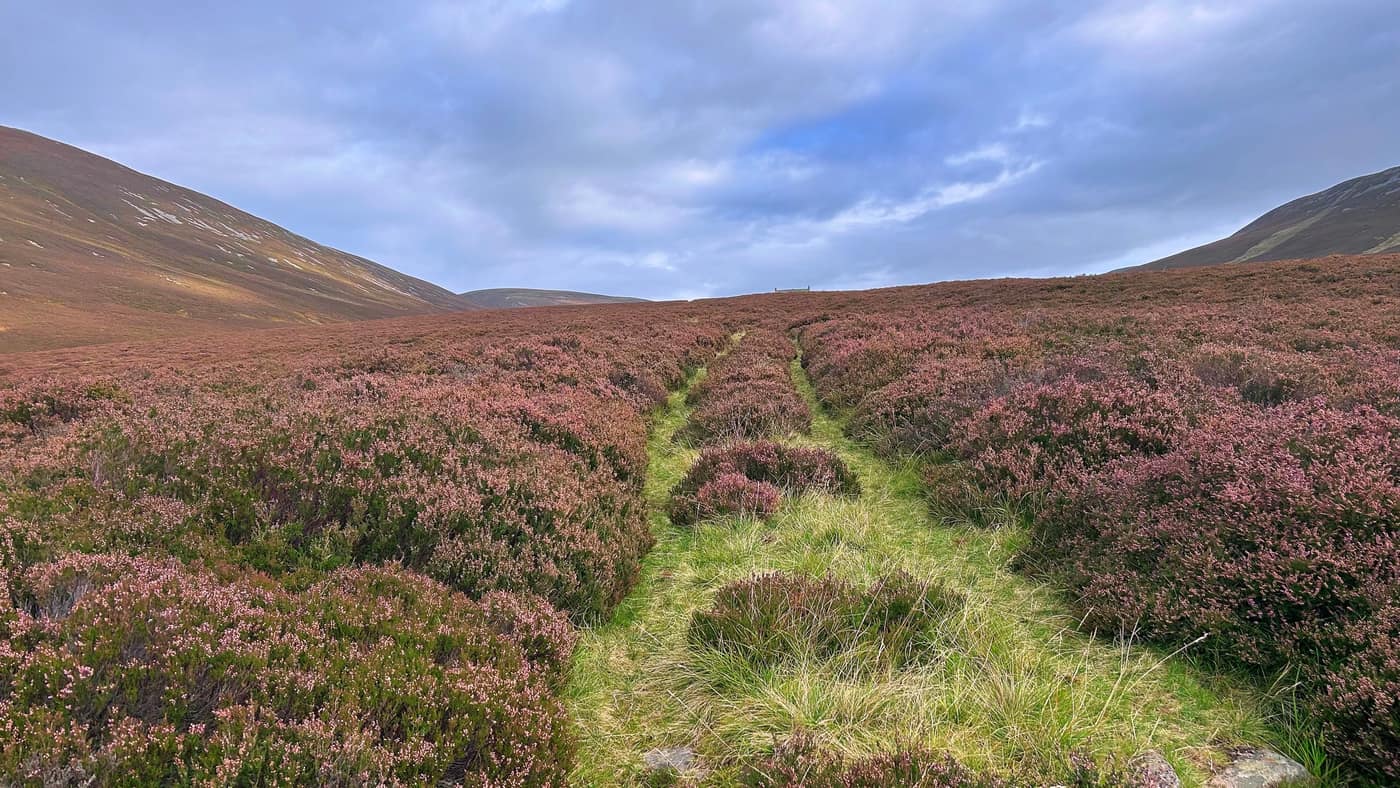
Keep walking until you see the Cook’s Cairn sign, which is pretty much under the windmill’s nose. The climb here is a steady one through heather and a vague stone path.
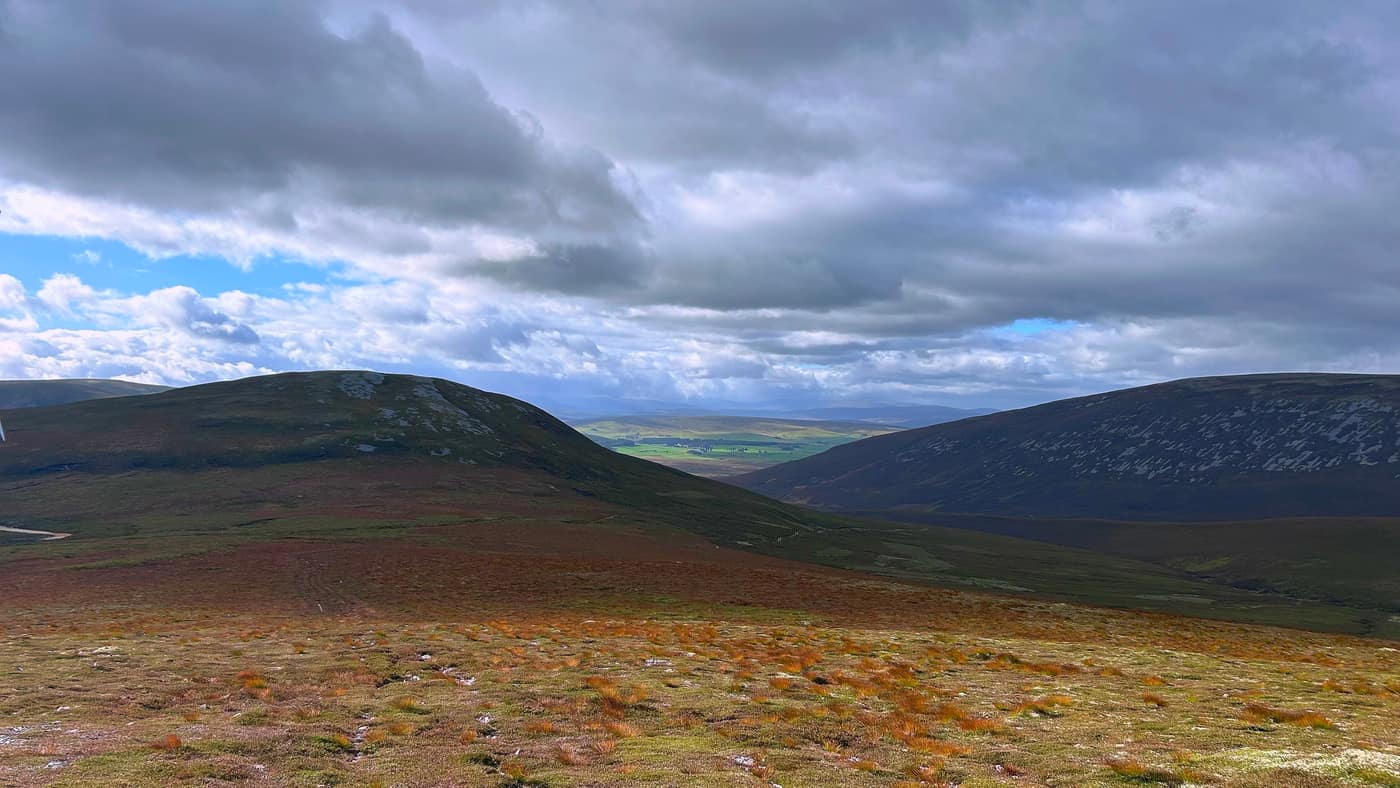
Worth taking a look back here to admire the view again.
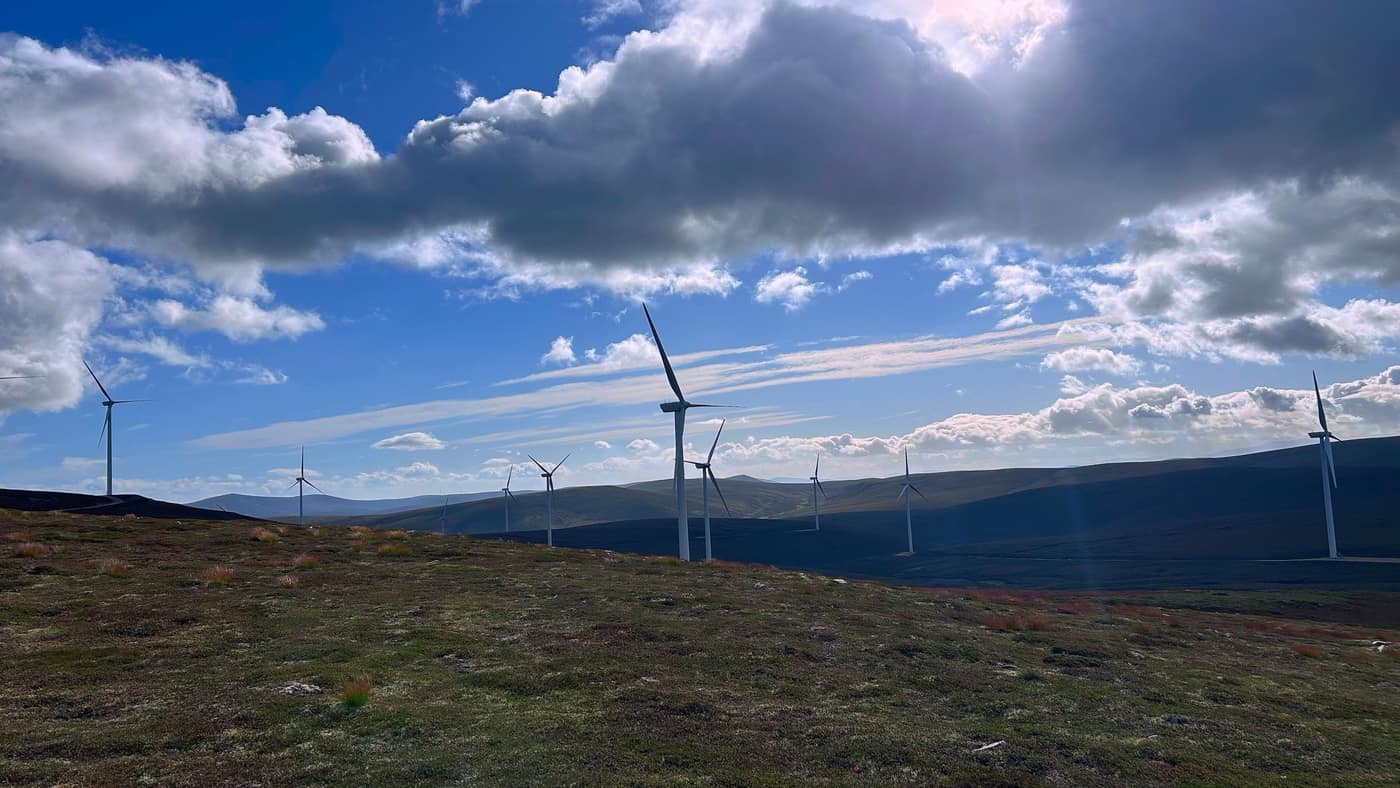
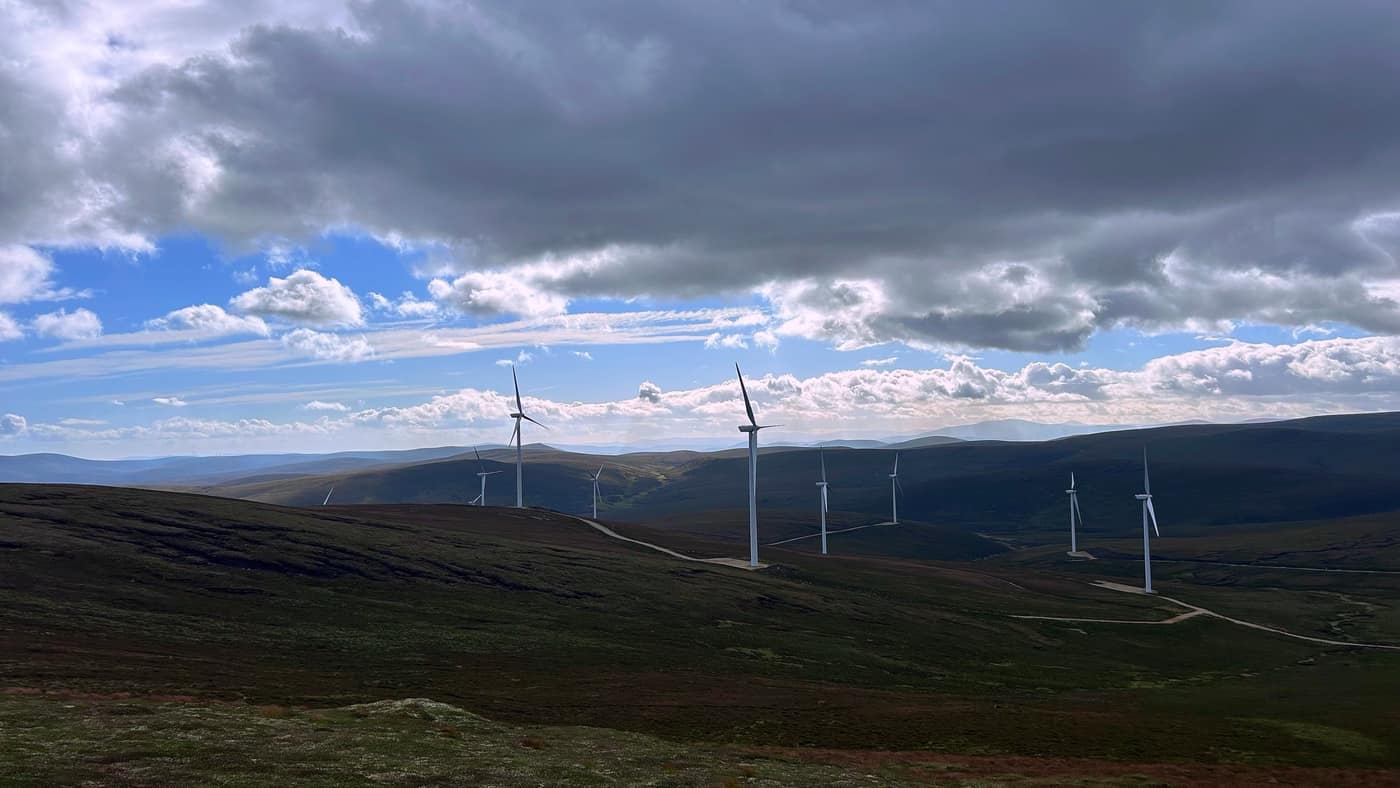
The top
We made it!
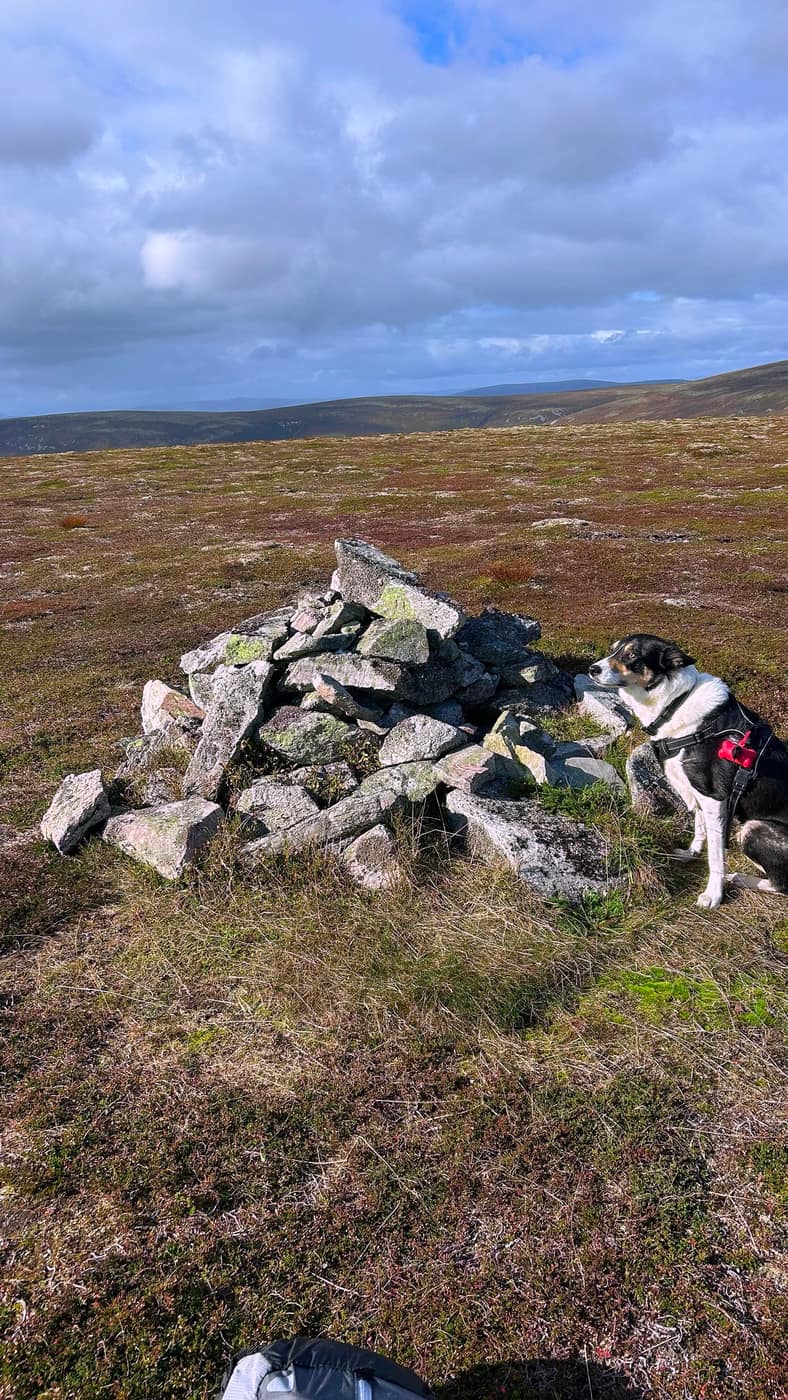
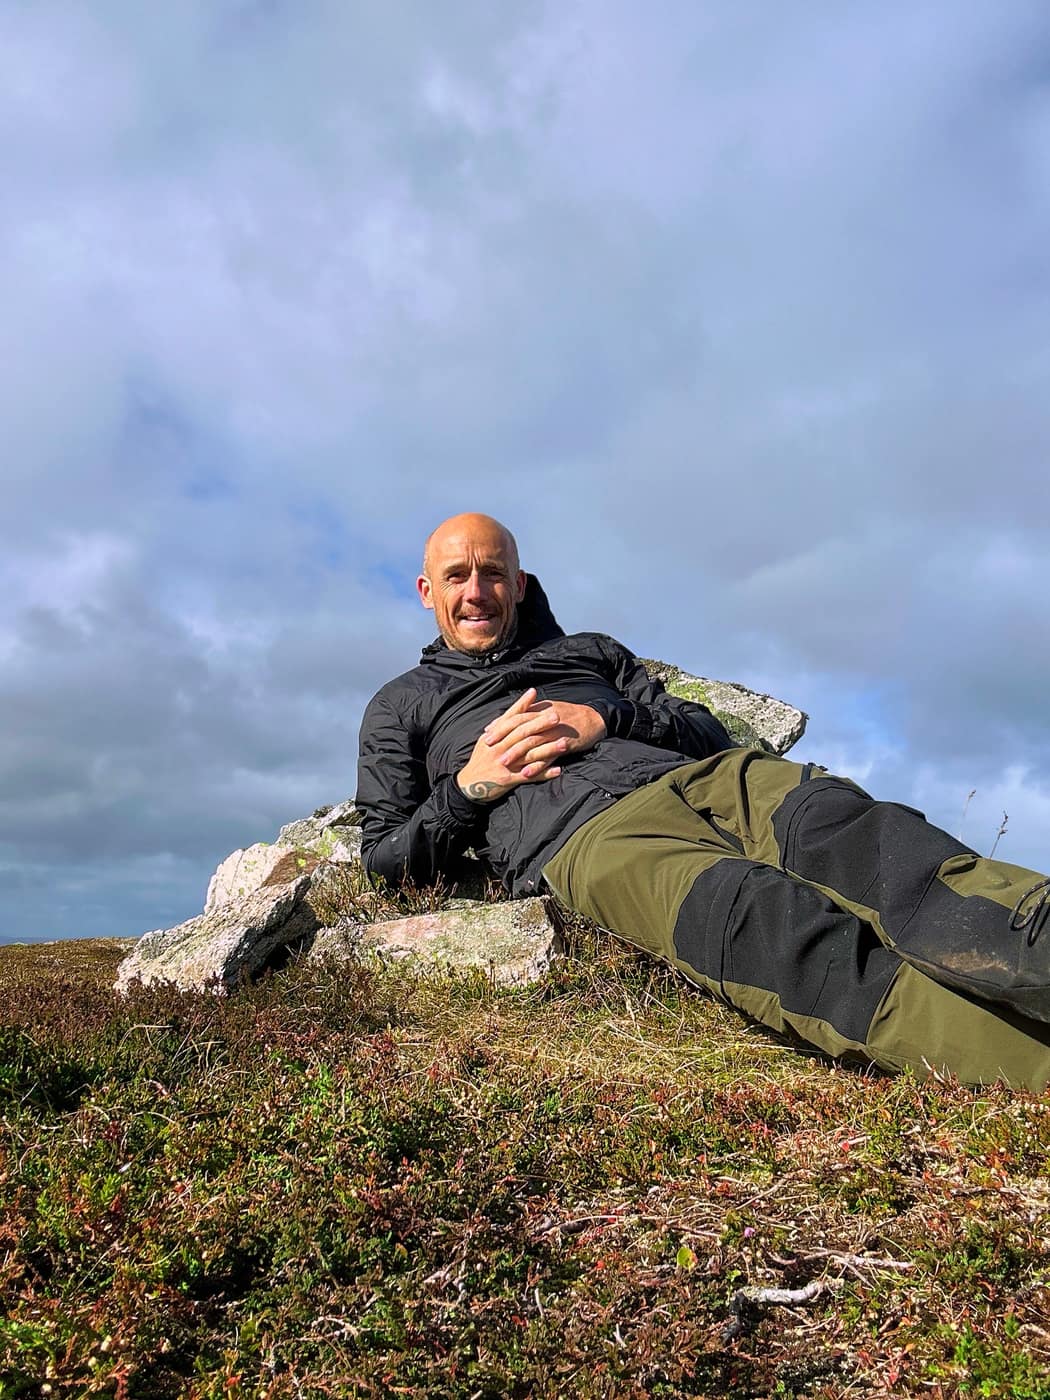
The photos of the view from the top are not so great — because of the rounded top there wasn’t really an edge to get a decent picture of the view below. I might need to invest in a better camera to capture these, or a drone.
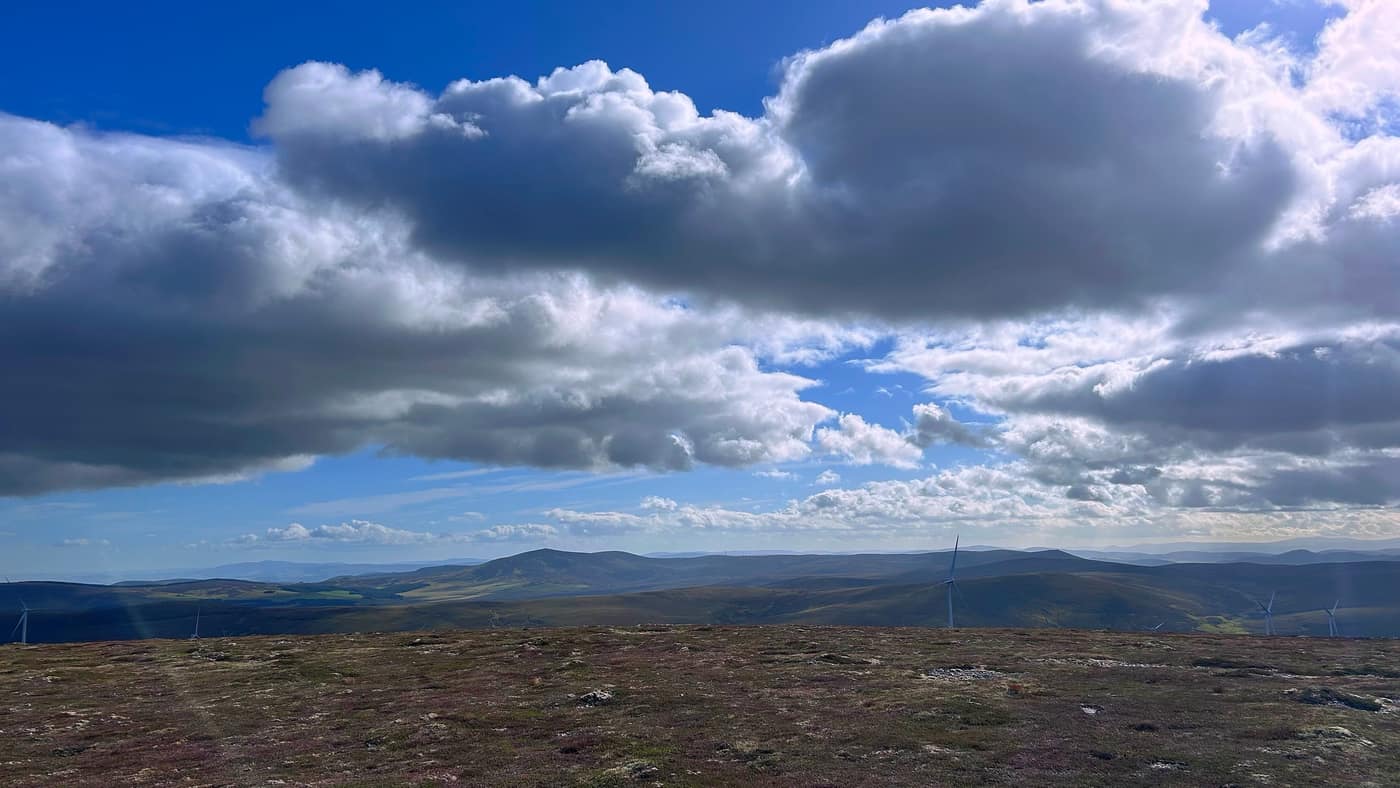
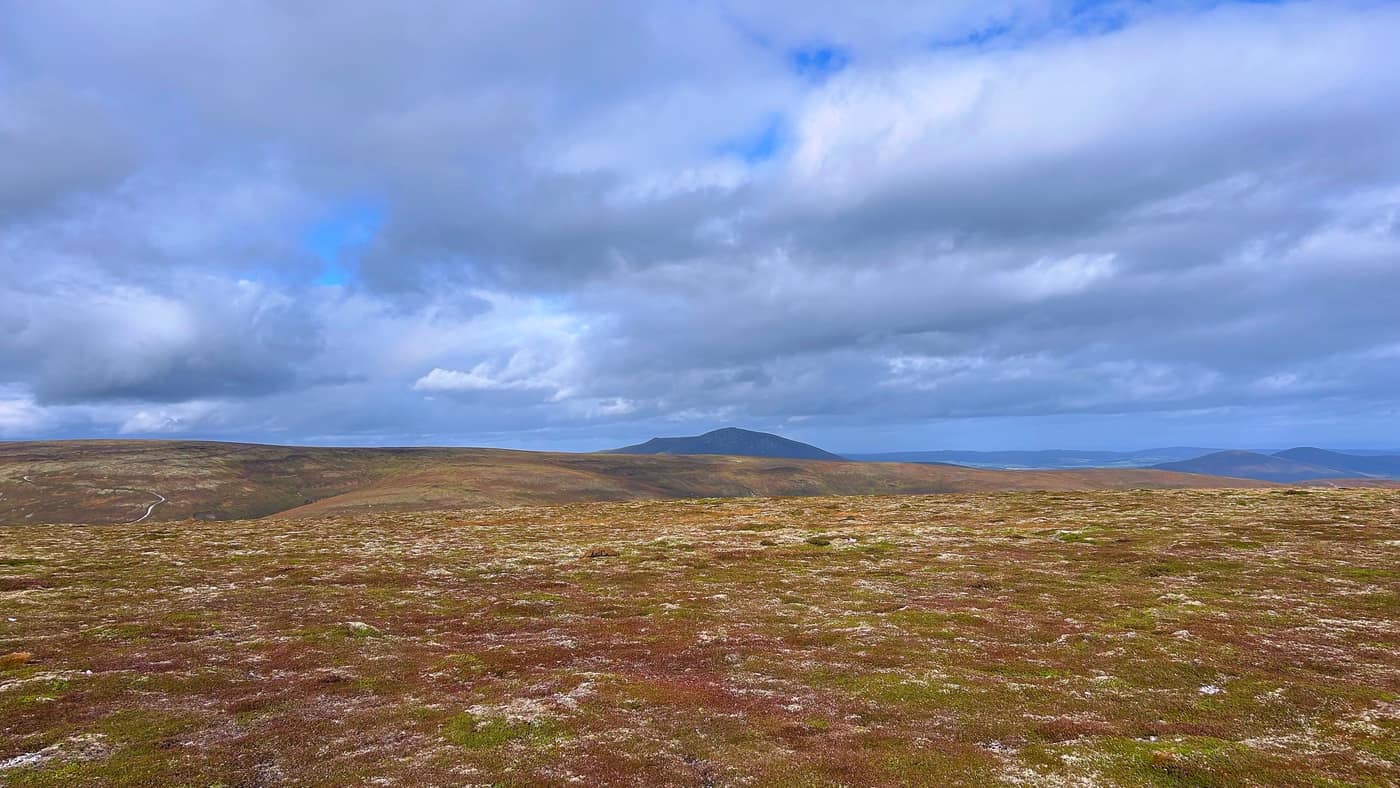
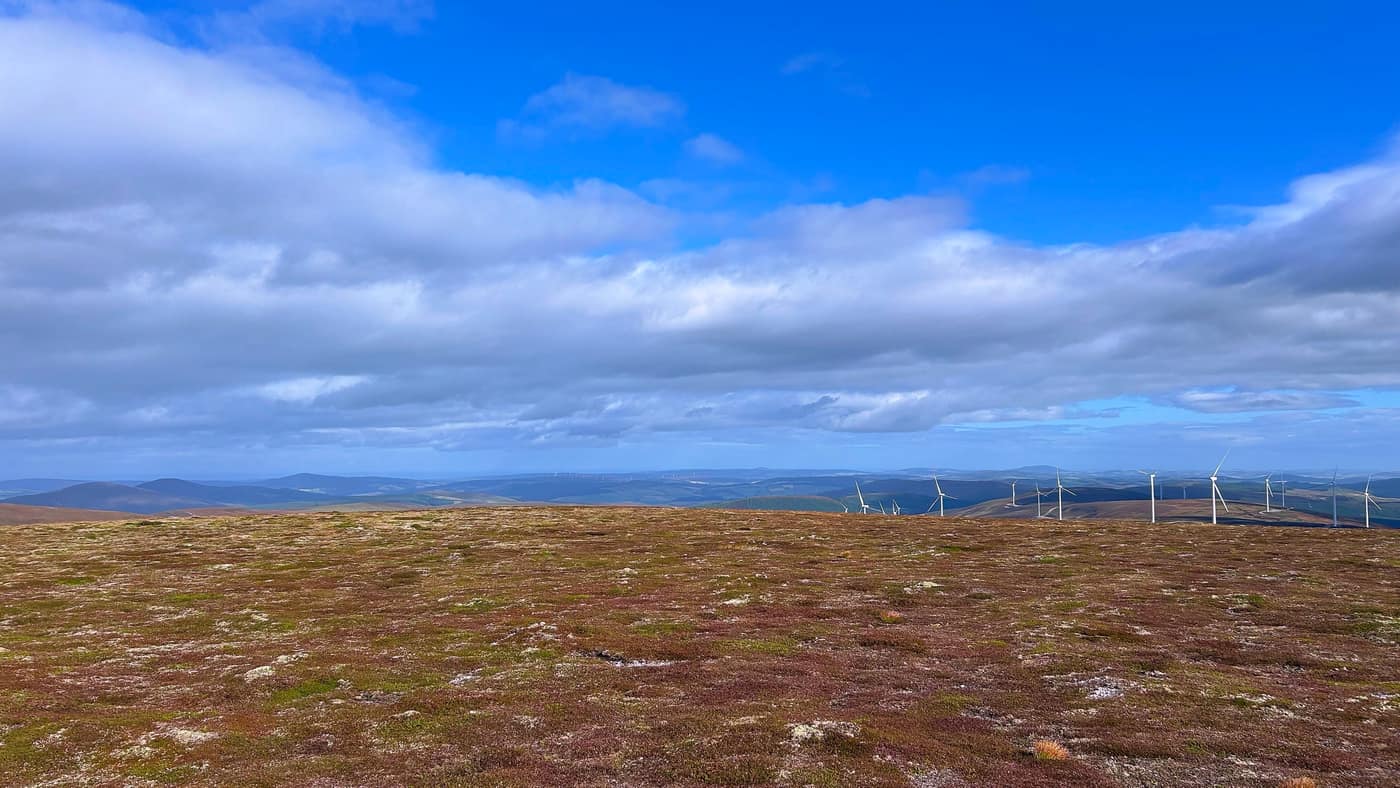
That’s another one ticked off though.
The way back
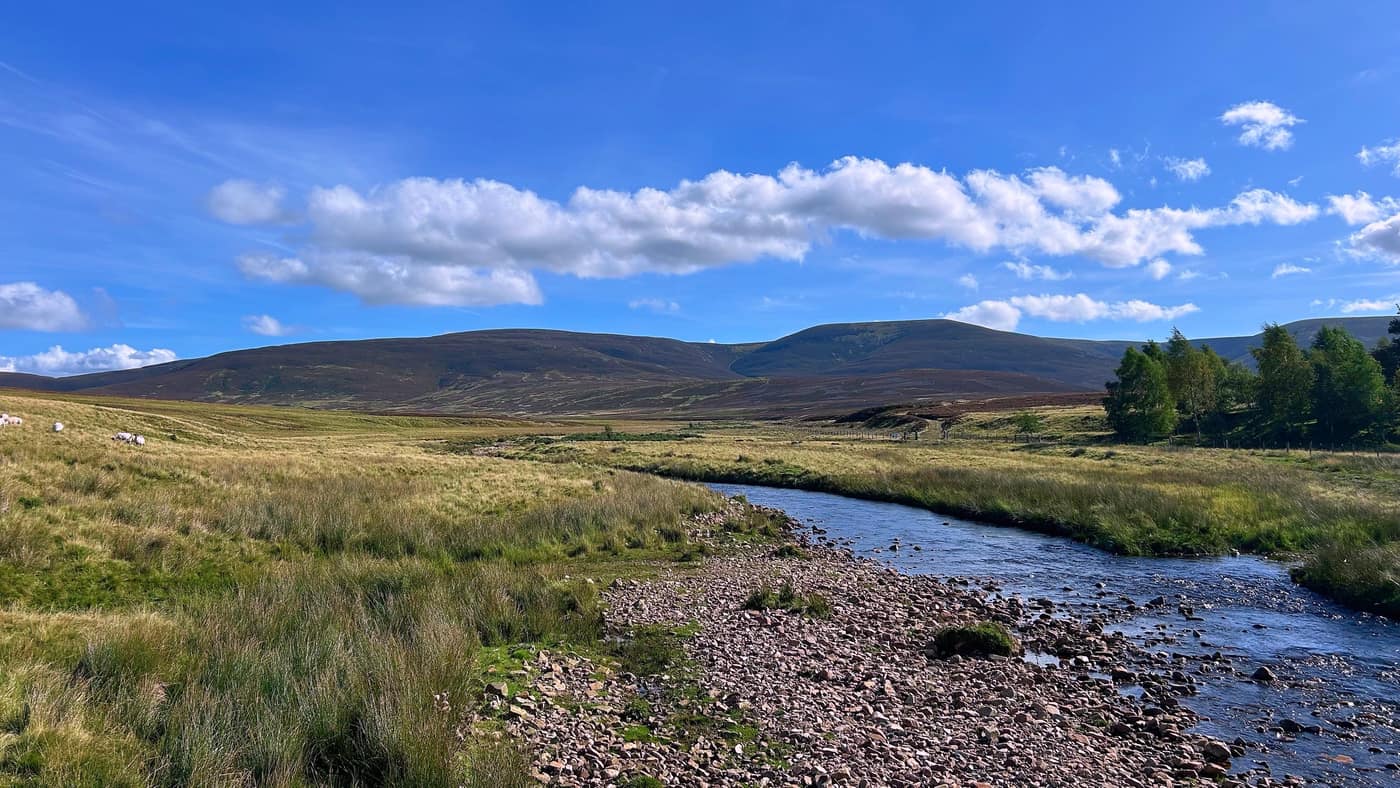
Then we headed back down, taking in a few more scenic views on the way. The big hill across the glen the whole walk, by the way, is Corryhabbie Hill — I had to look it up on the app’s map after.
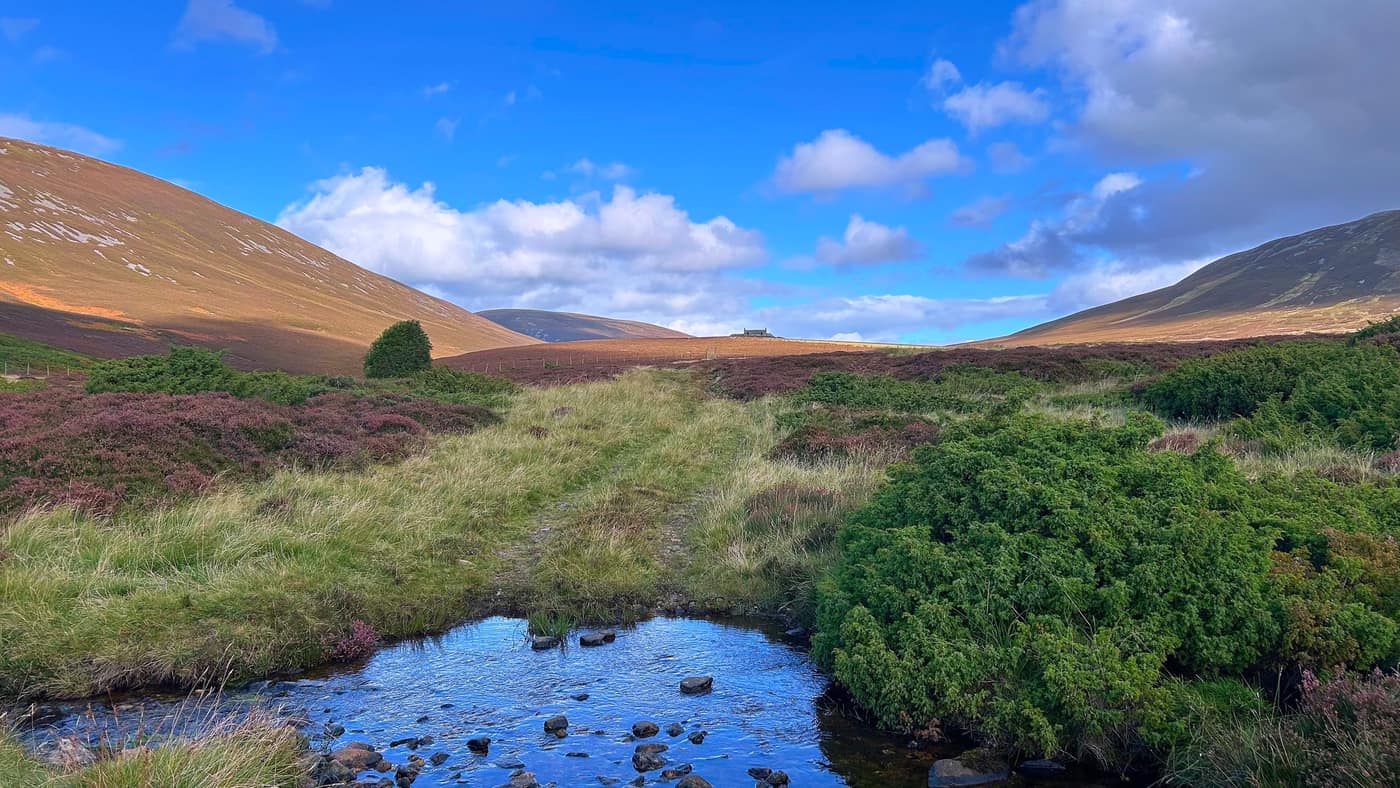
Worth knowing
That’s the toughest one to date in terms of distance. This is the first time my legs have felt sore in the morning — a clear sign of the work!
Is there a quicker way up? I’m not sure, as this was the route I picked. So it’s maybe worth doing your own research if you’re not willing to travel that far.
Take the tick list with you.